After many years talking about the pros and cons of having a loft bed for the kids I finally got the go to build one on my own. Loft or bulk beds can be bought used for a few bugs on ebay or you go to a special shop where you you easily spent 1000 euro or more for a single bed. Or if you like to make things (as I do) you spent almost the same money plus additional 5 working days and get almost exactly what you want. In our case we needed to place the beds on the long side of the kids room head to head. This option was simply not achievable with commercial beds as the wall is just slightly longer than the two mattresses which made a pole-free design necessary.
Family requirements for the loft bed
So let’s talk about the requirements in more detail. I mentioned the pole-free design already but this was really enforced by the dimensions of the room considering a clean and lightweight design. The girls wanted the bed to be in a kind of compartment-style to have their own private space – very understandable for twins. My wife wanted the bed to be high enough to use the space below properly but low enough to get easy access to blanket and mattresses for regular maintenance. No need to say that these two requirements stand diametrical opposed to each other. Anyways, the other day one of the girls came back from an overnight-stand with a friend which had a bulk bed at 170 cm. So we took this as the height we wanted the bed to be. Other requirements were reported on general sturdiness, angle of the ladder, number of steps and possibilities to hang on while climbing upwards. My only real requirement was to make the bed from plywood to keep the building processes as simple as possible while maintaining a budget of 500€.
The design
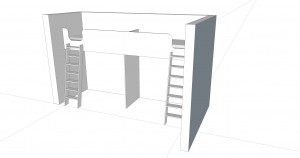
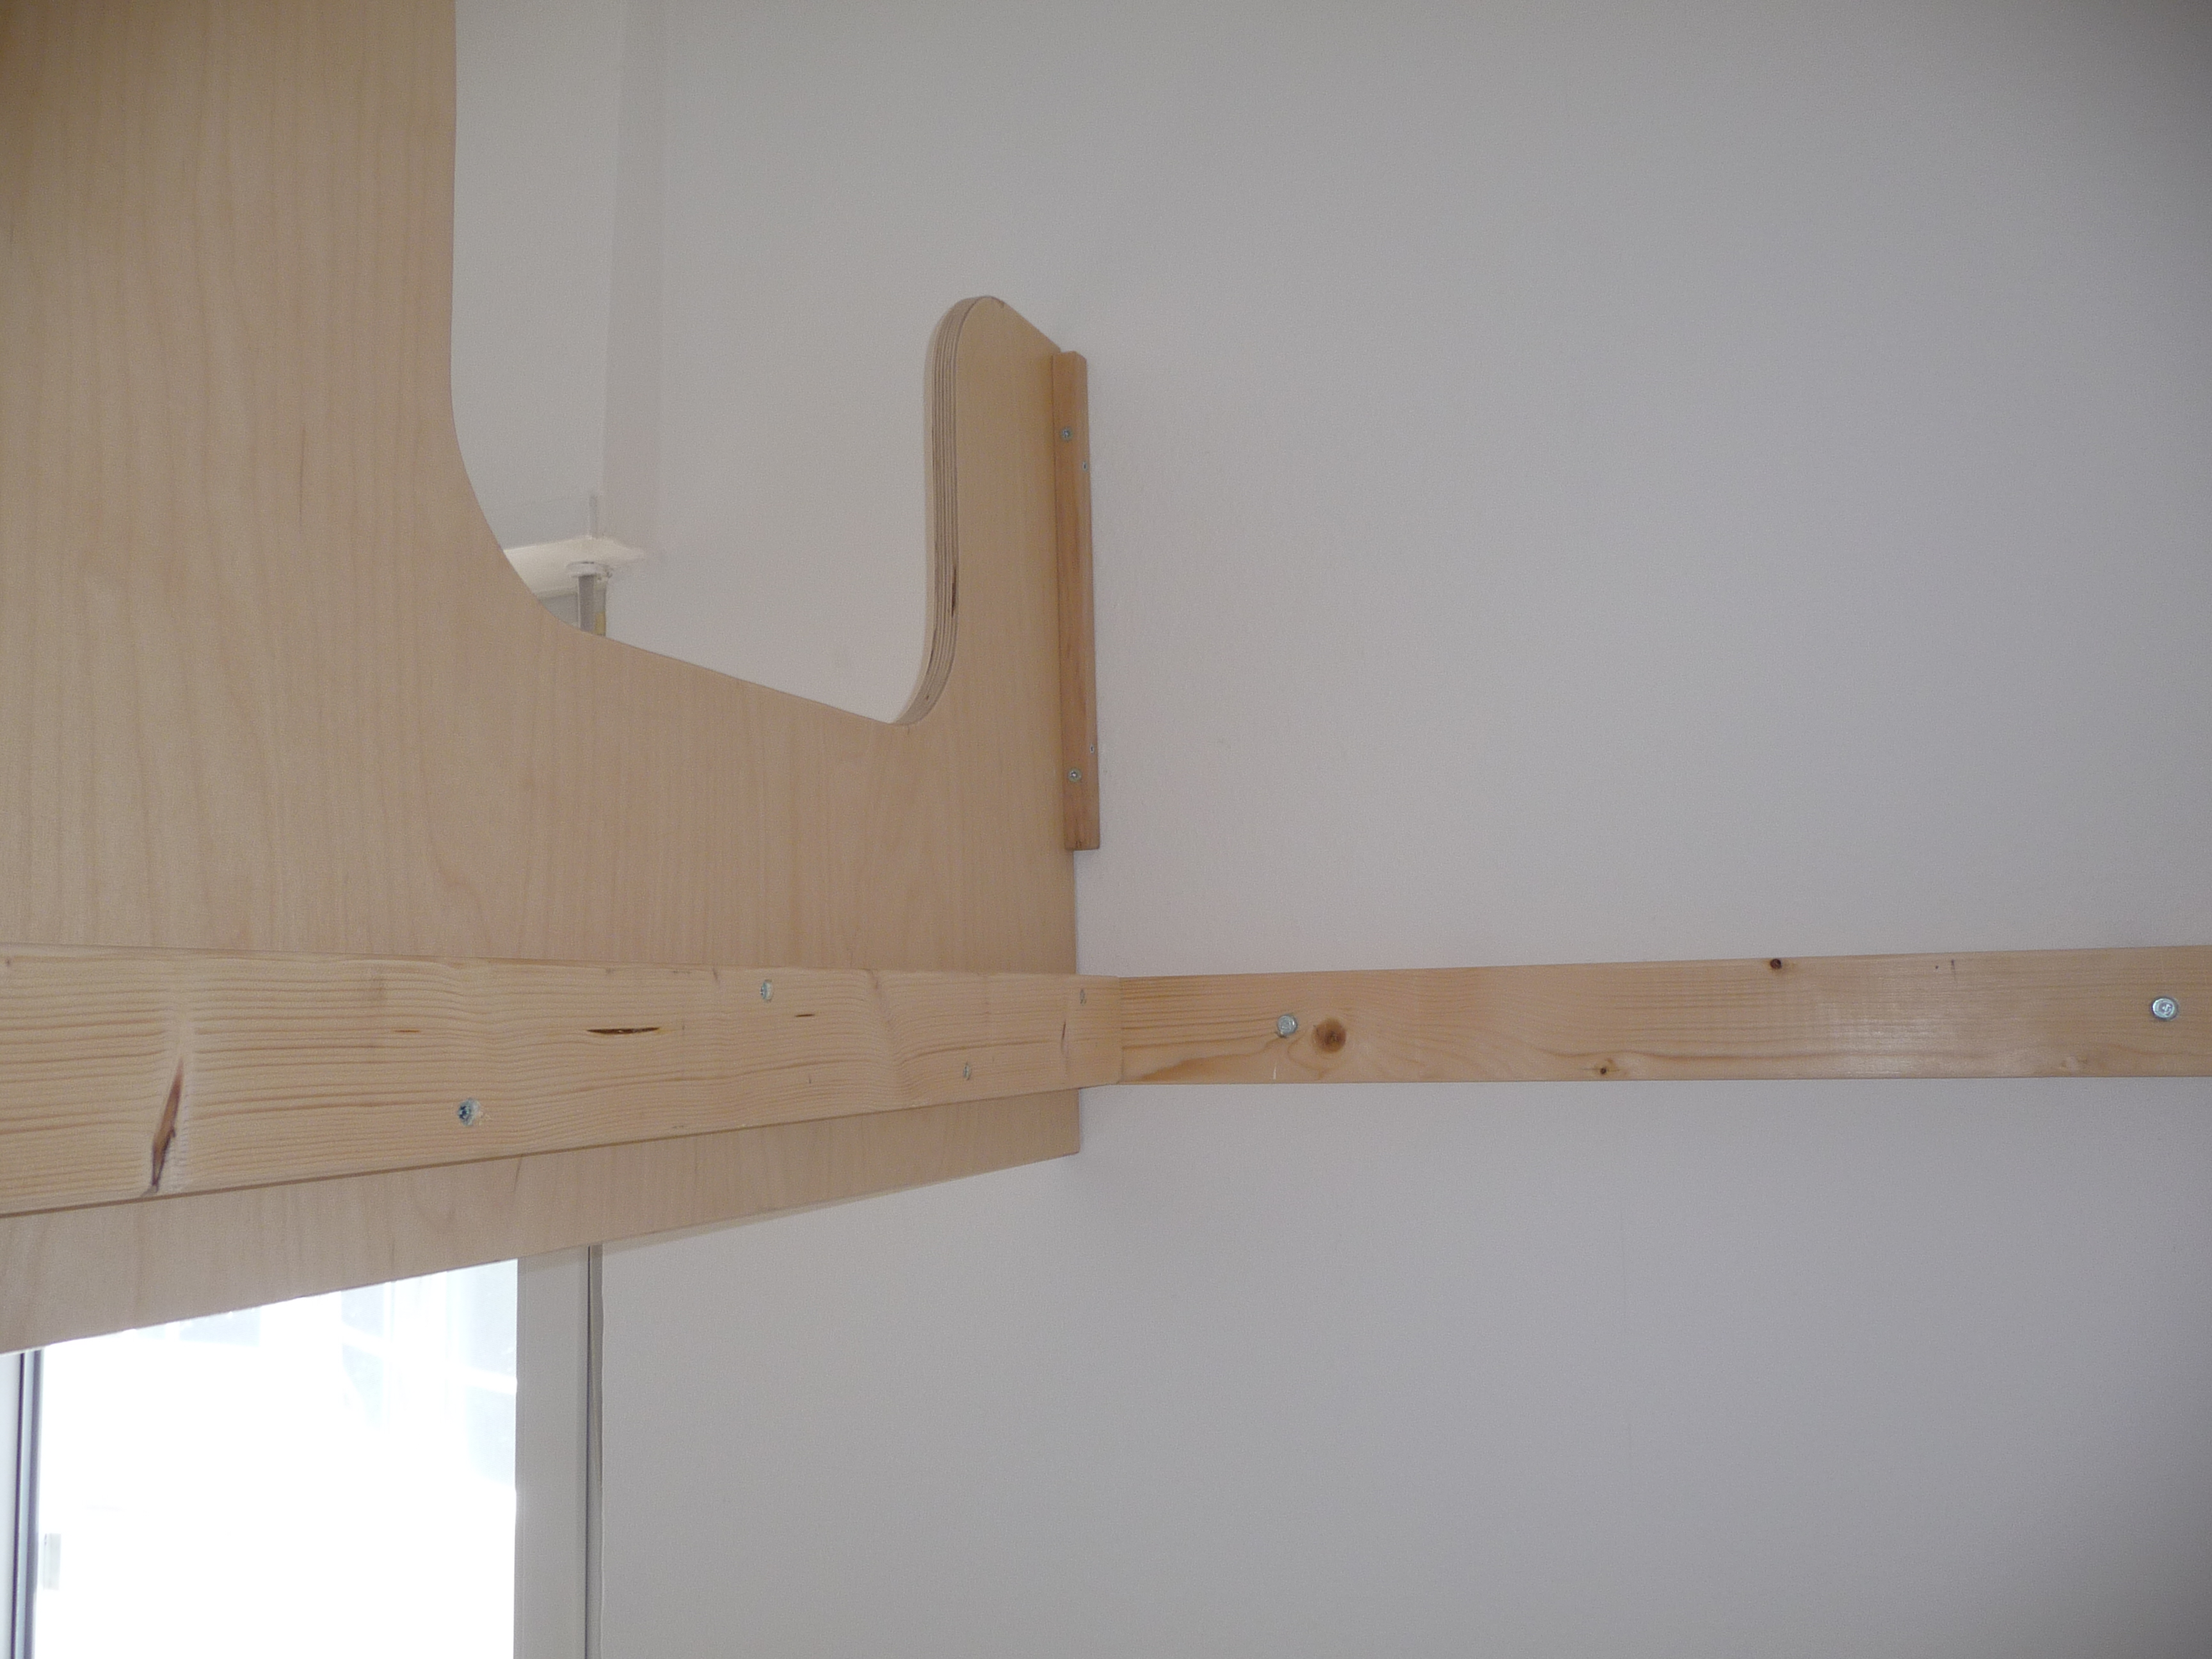
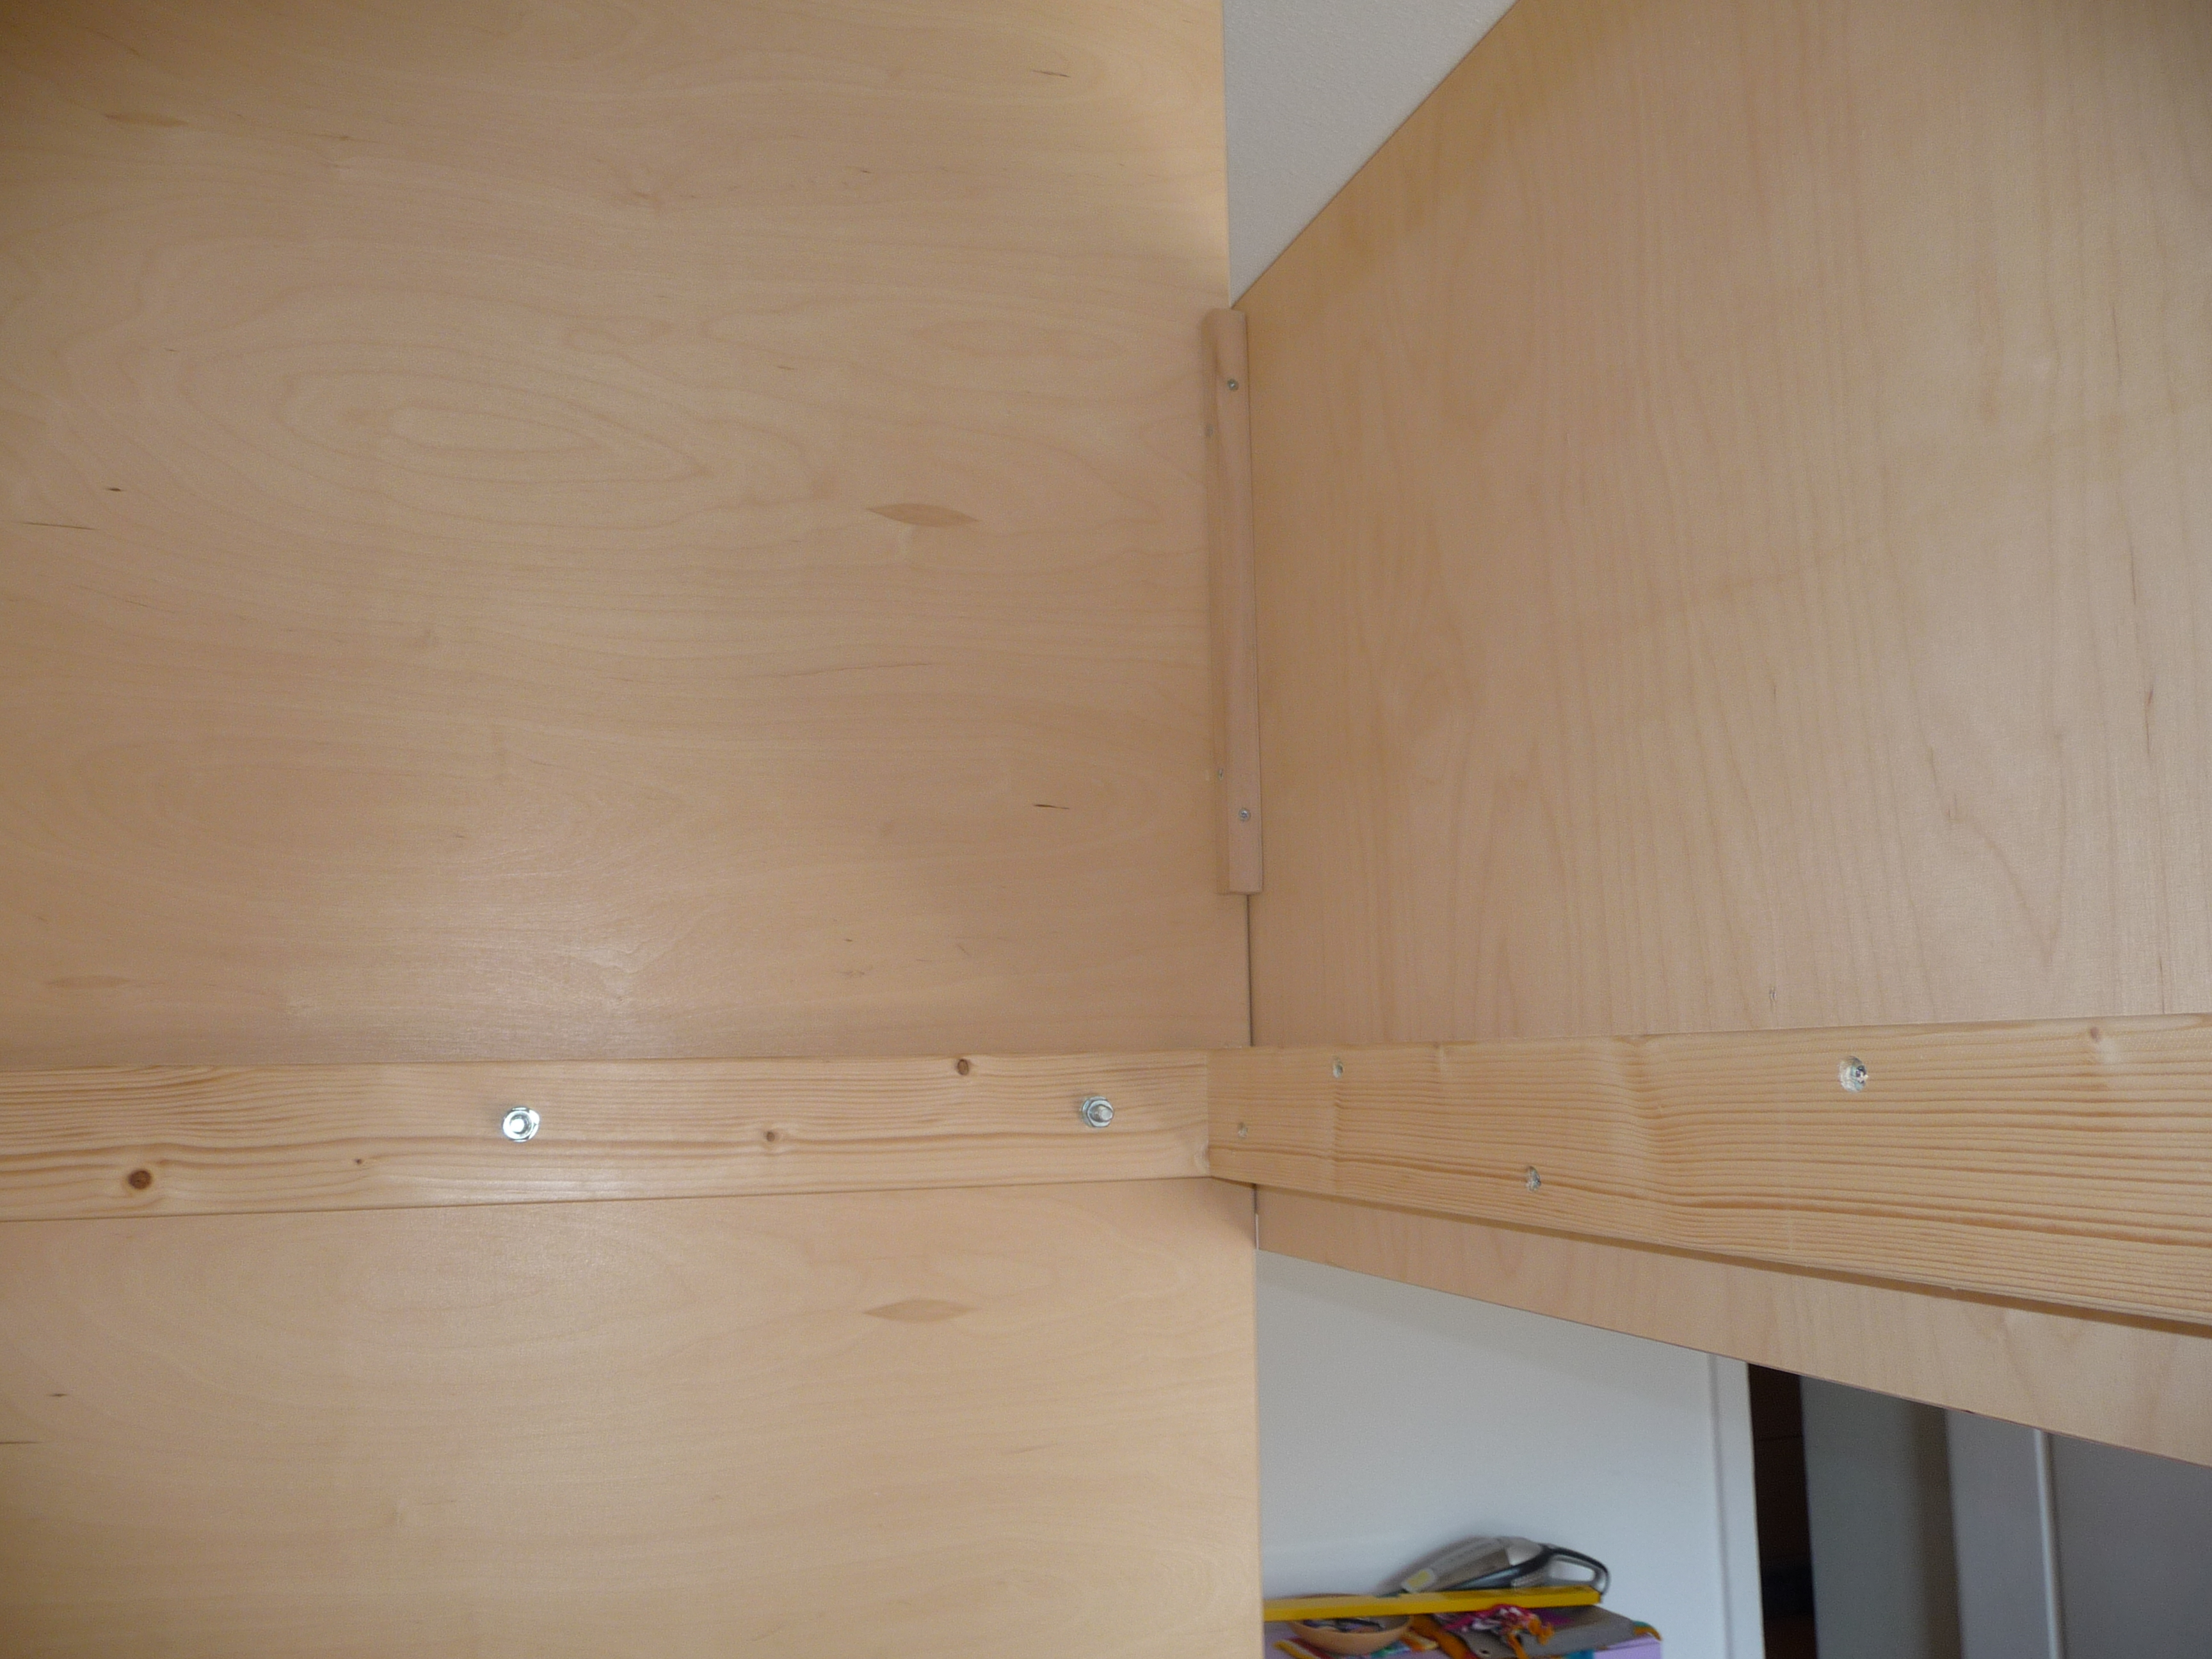
The design idea is quite easy: If you don’t want poles you need to mount the bed to the surrounding walls. I constructed the bed’s mainframe from 58x70mm spruce wood and added a vertical sheet of plywood which acts as separator between the two beds and as an additional mounting point for the frames. The side panels were a difficult topic. The original idea was to have a frame around the bed with a rather small rectangular entry and generously rounded edges, something like a nautic cabin style. While I liked it a lot I felt it was too difficult and time-consuming to build. So I convinced everybody that a 700mm high side panel with a rounded entry would be a good compromise.
For the stairs I wanted to go for the same plywood material and screw them against the side panels of the bed. At this stage I wasn’t sure how to joint stairs and the side sections of the ladders. The joinery turned out to become the most time consuming and frustrating part of this project, but more on the later……
Preparation
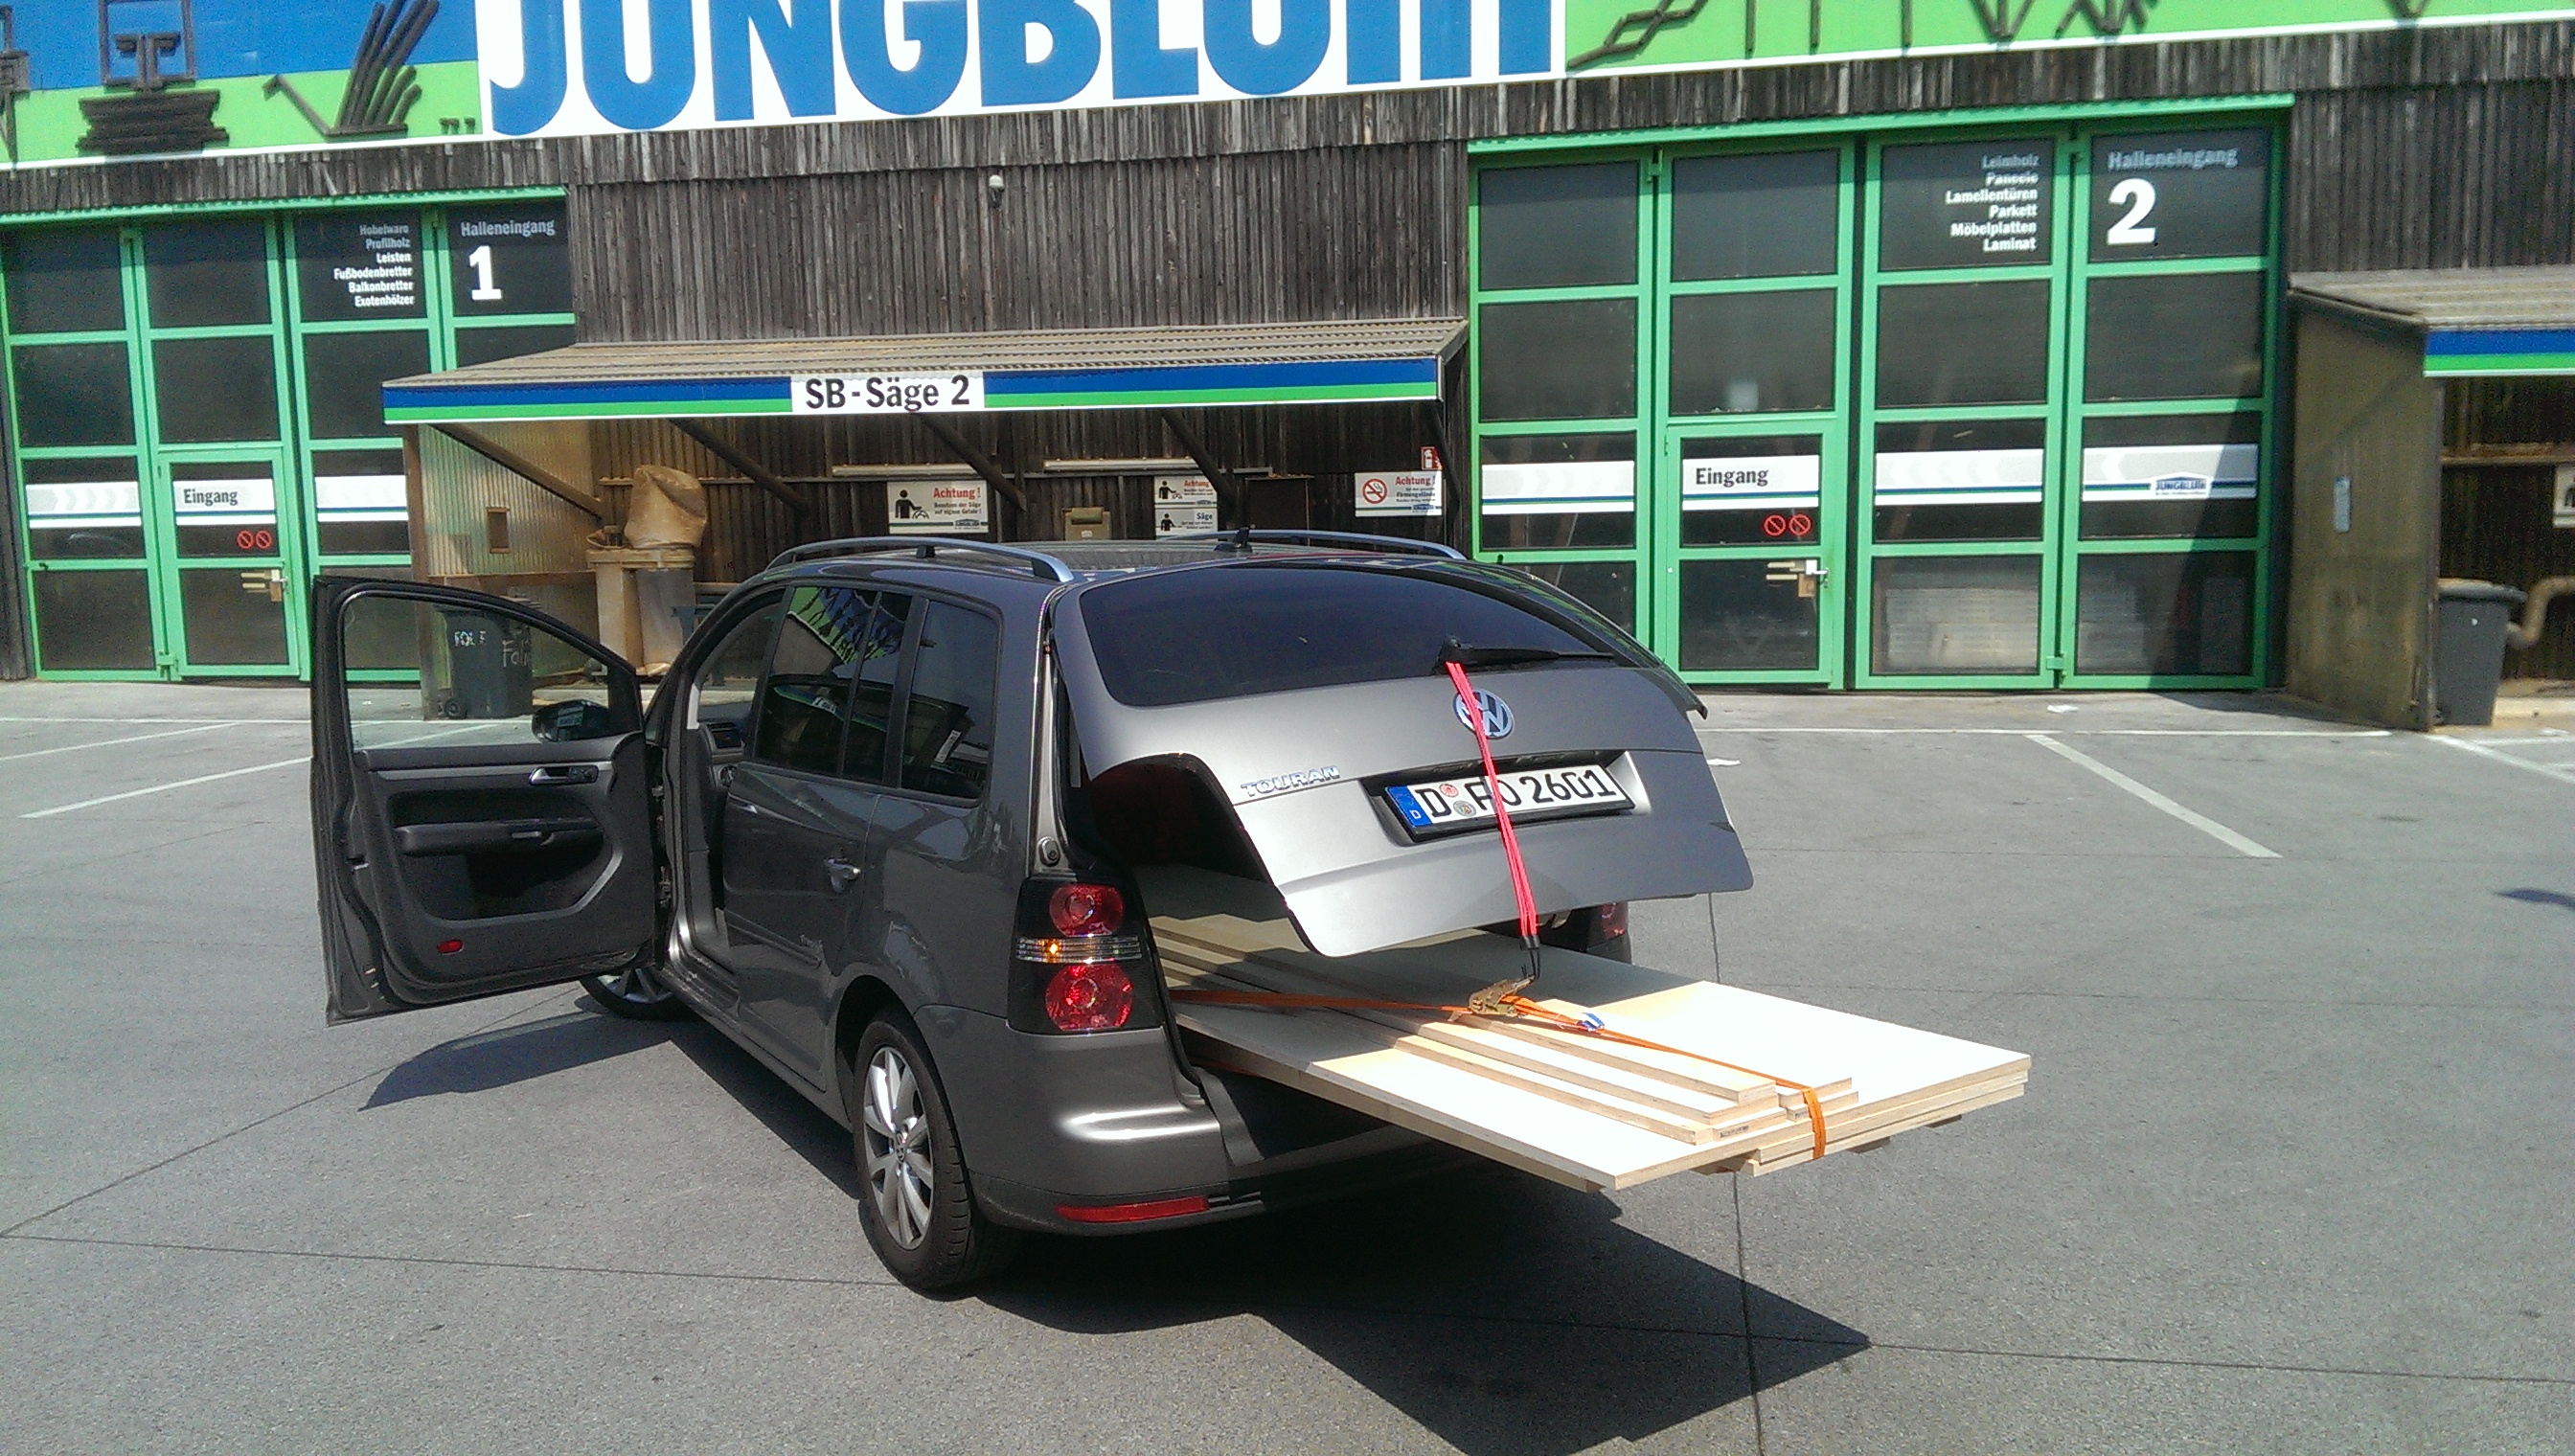
I invested a lot of time in learning sketchup throughout the past month so drawing everything wasn’t a big thing. Looking back it was really good to spent the time drawing it on the computer as I could obtain the different angles for the non 90 degree cuts and got a good view on the proportions. After a number of smaller modifications I manually created a cut-plan, and counted the rough number of different sized screws I would need. I then headed off to the local wood store and bought two 3000x1500mm sheets of plywood which were ripped down to match the sizes of the divider piece and the side panels. Also I needed the spruce bars for the main frame, screws and water based polyurethane for the finish.
Building the main construction
Back home my neighbour helped me to lift the plywood from his garden up to our balcony. This was quite an adventure and unfortunately no photos were made. We accomplished the mission by him pushing the sheets up and me pulling them over the handrail by one third of the length followed by an acrobatic pull down and 90 degree move to get each piece in parallel to the saw horse. It is unbelievable how heavy and unhandy bigger pieces of plywood can be.
After a break I carried all necessary tools like circular saw, drill & some handtools to the balcony which was my nice outdoor workshop for the next couple of days.
I started to cut the spruce bars to length with the Tracksaw which turned out to be a bit tedious as I had to align the track twice per cut due to the limited cutting capacity (roughly 5cm) of my TS 55. I would have better done this with my Japanese handsaws. I then just screwed them together with two 15cm long screws on each side. I made the frames a bit too long as as I wanted to achieve a tight fit between the walls and the divider panel so I had to take them apart again and trim the side bars down to their final size after the divider was in place.
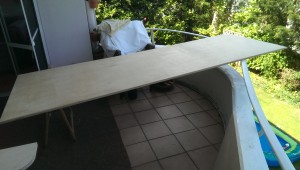
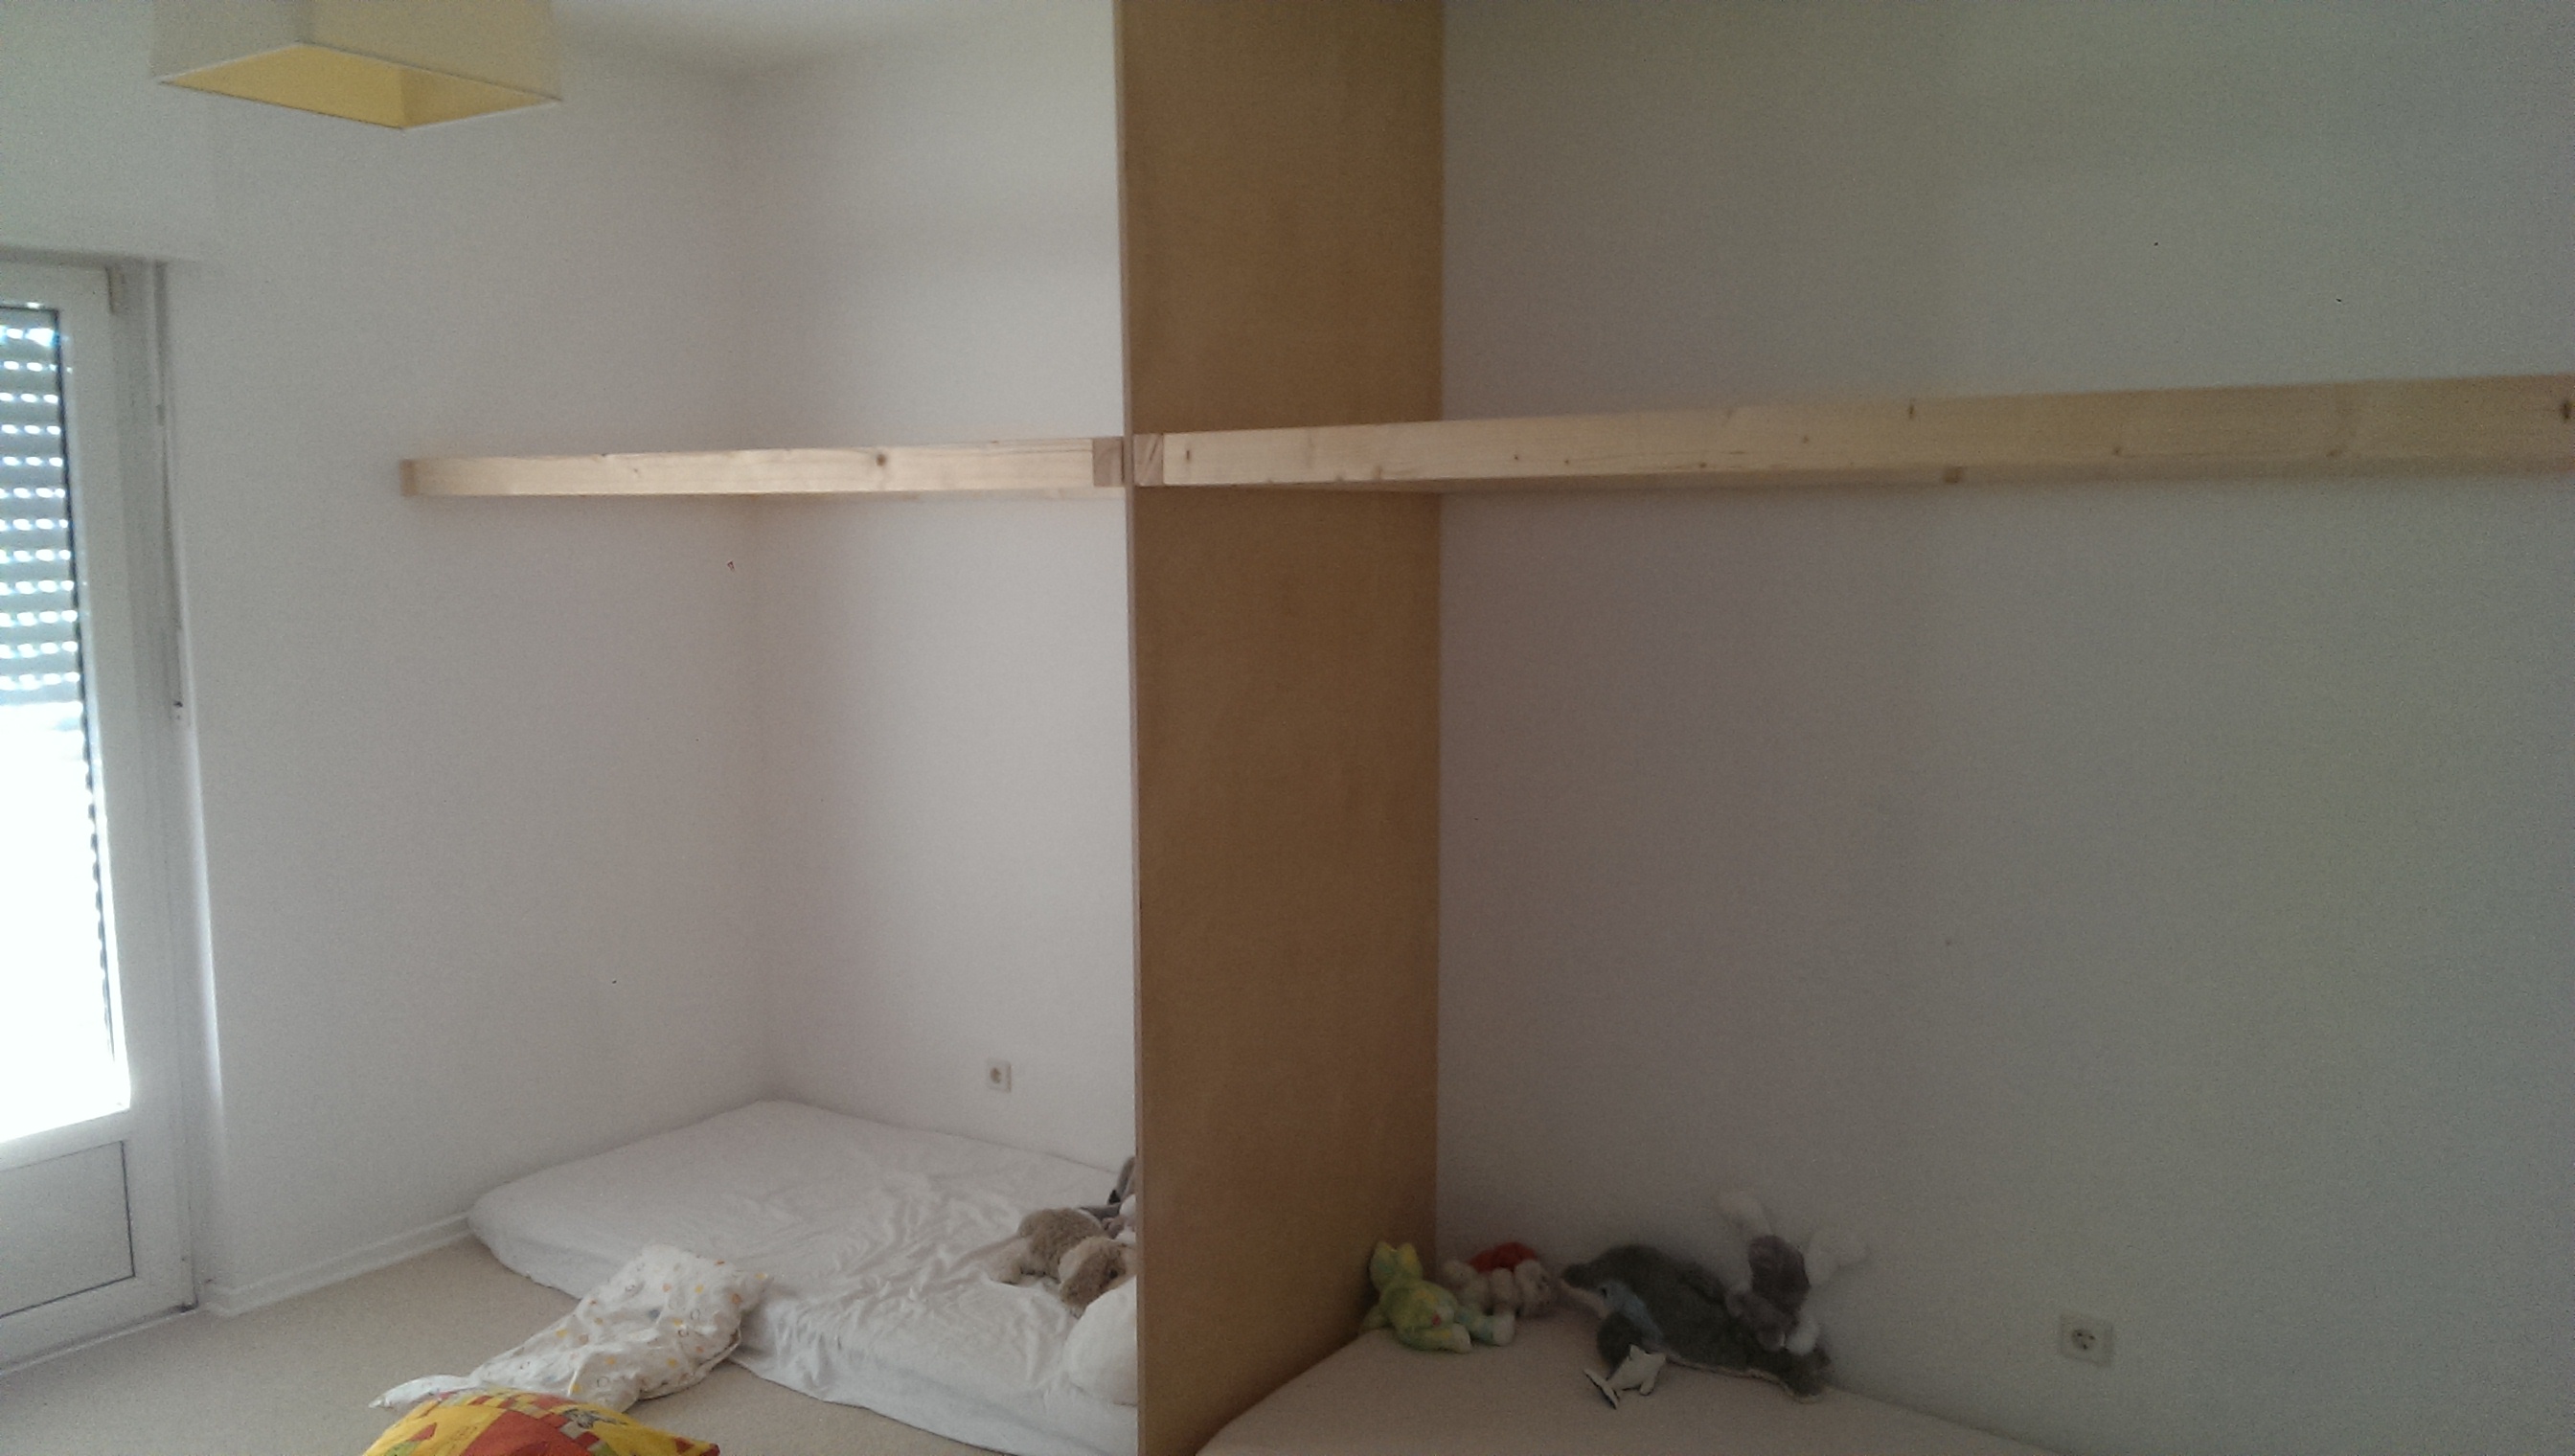
For the divider panel I had to make just one cross cut to fit it exactly between floor and ceiling. To finish this part I rounded the corners with a router, did some light sanding and applied two coats of water based polyurethane. I then used two large 90 degree stands that I had build before and clamped them on the bottom end of the divider so it would stand freely and I could move it to the final position and find the right length for the two bed frames. I then lifted the frames up on four equally long temporary stands and drilled two holes through the frame into the wall and three on the side of the divider panel. Since I had no sufficiently long drill bit to go through both frames plus the panel I took a long metal stick from an old ikea shelf and grinded a sharp edge on one side to drill pilot holes and completed the holes from both sides with a standard 10mm drill bit. After that the frames were secured with two anchor bolts and 170mm/8mm screws to each wall and 3 150mm/10mm bolts for the divider panel.
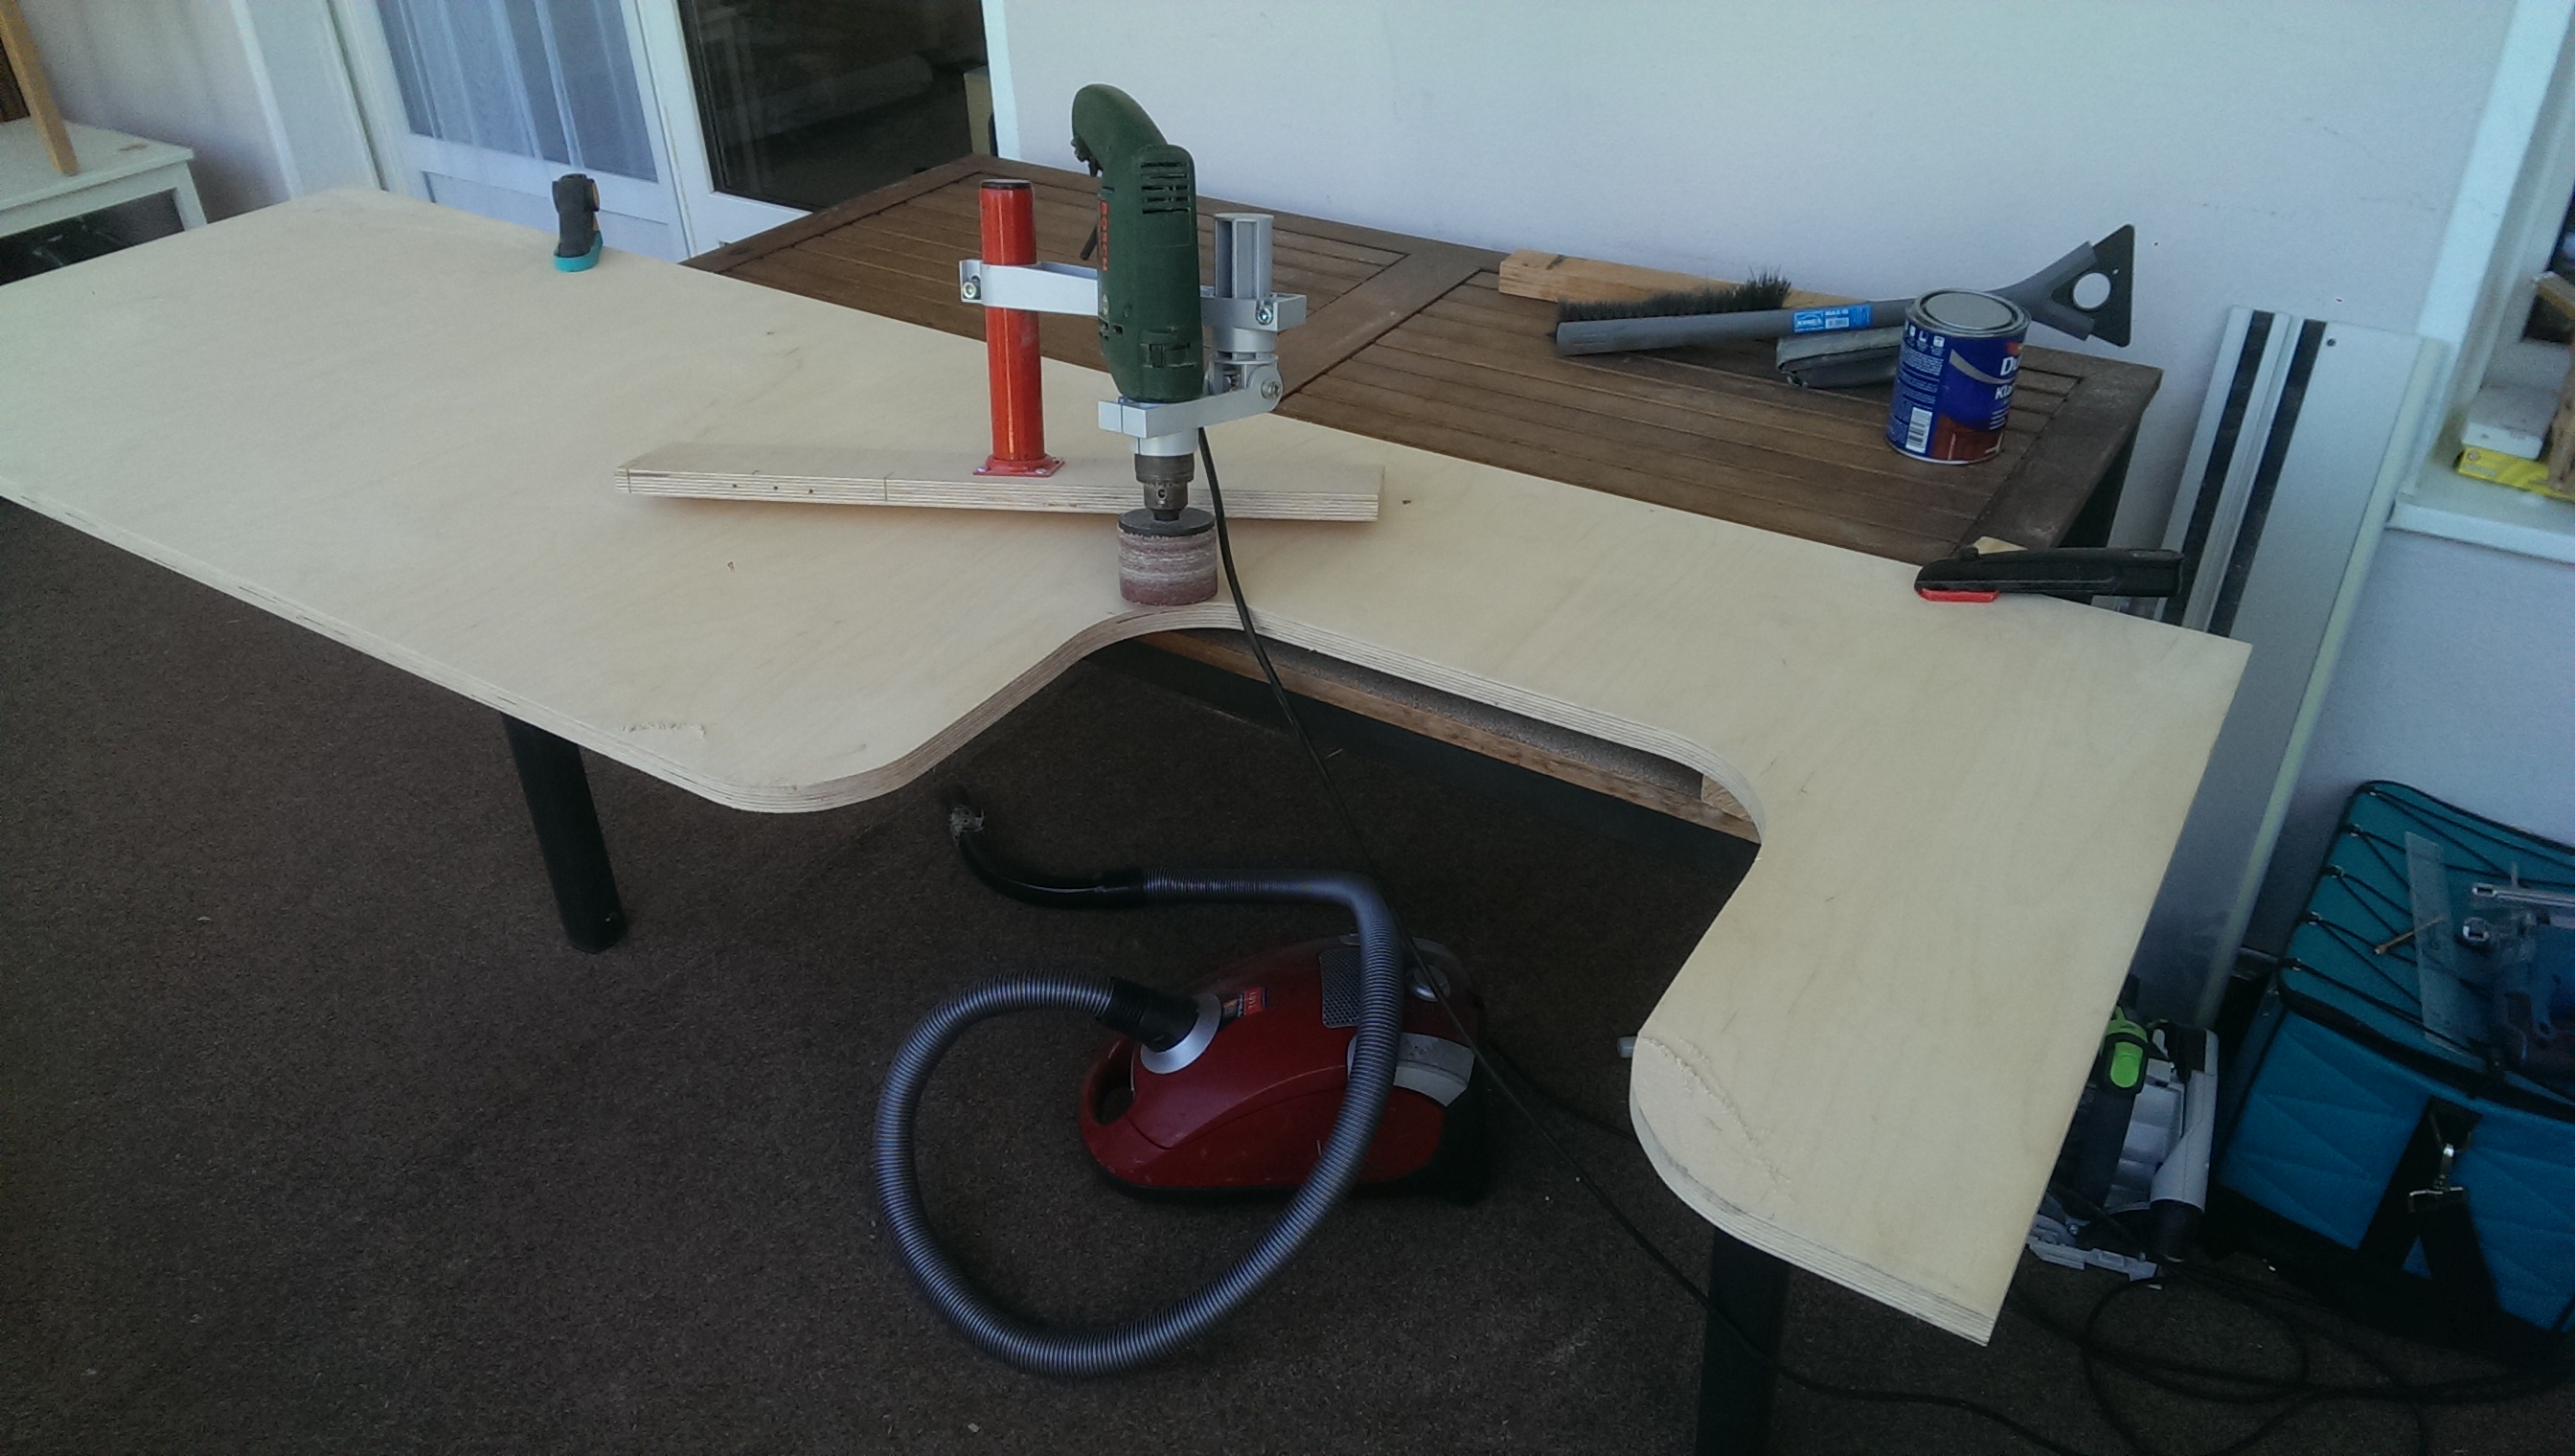
Next I started to work on the front panels and cut out the rounded entries with a jig saw. It’s really difficult to make precise cuts with a jig saw and I was concerned that the result would be below expectations – and it actually was. But fortunately I had the great idea to screw a drill mount that I had purchased many years ago on a piece of wood to use it as a mobile sanding jig. This helped a lot to smooth out all the edges and crippled radii from my jig-saw exercise and finally the bed entry’s came out quite nice. Before I attached them against the frames I finished the parts by passing through my standard procedure: Rounding corners, sanding, applying two coats of water based polyurethane.

Attaching the side panels to the bed frames without leaving bigger gaps between walls and plywood took much longer than expected. Since I wanted both sides to match exactly the center of the divider I had to individually clamp them against the frame, measure, cut, clamp again until the result was ok and I could screw them in place.
Making the stairs and complete the project
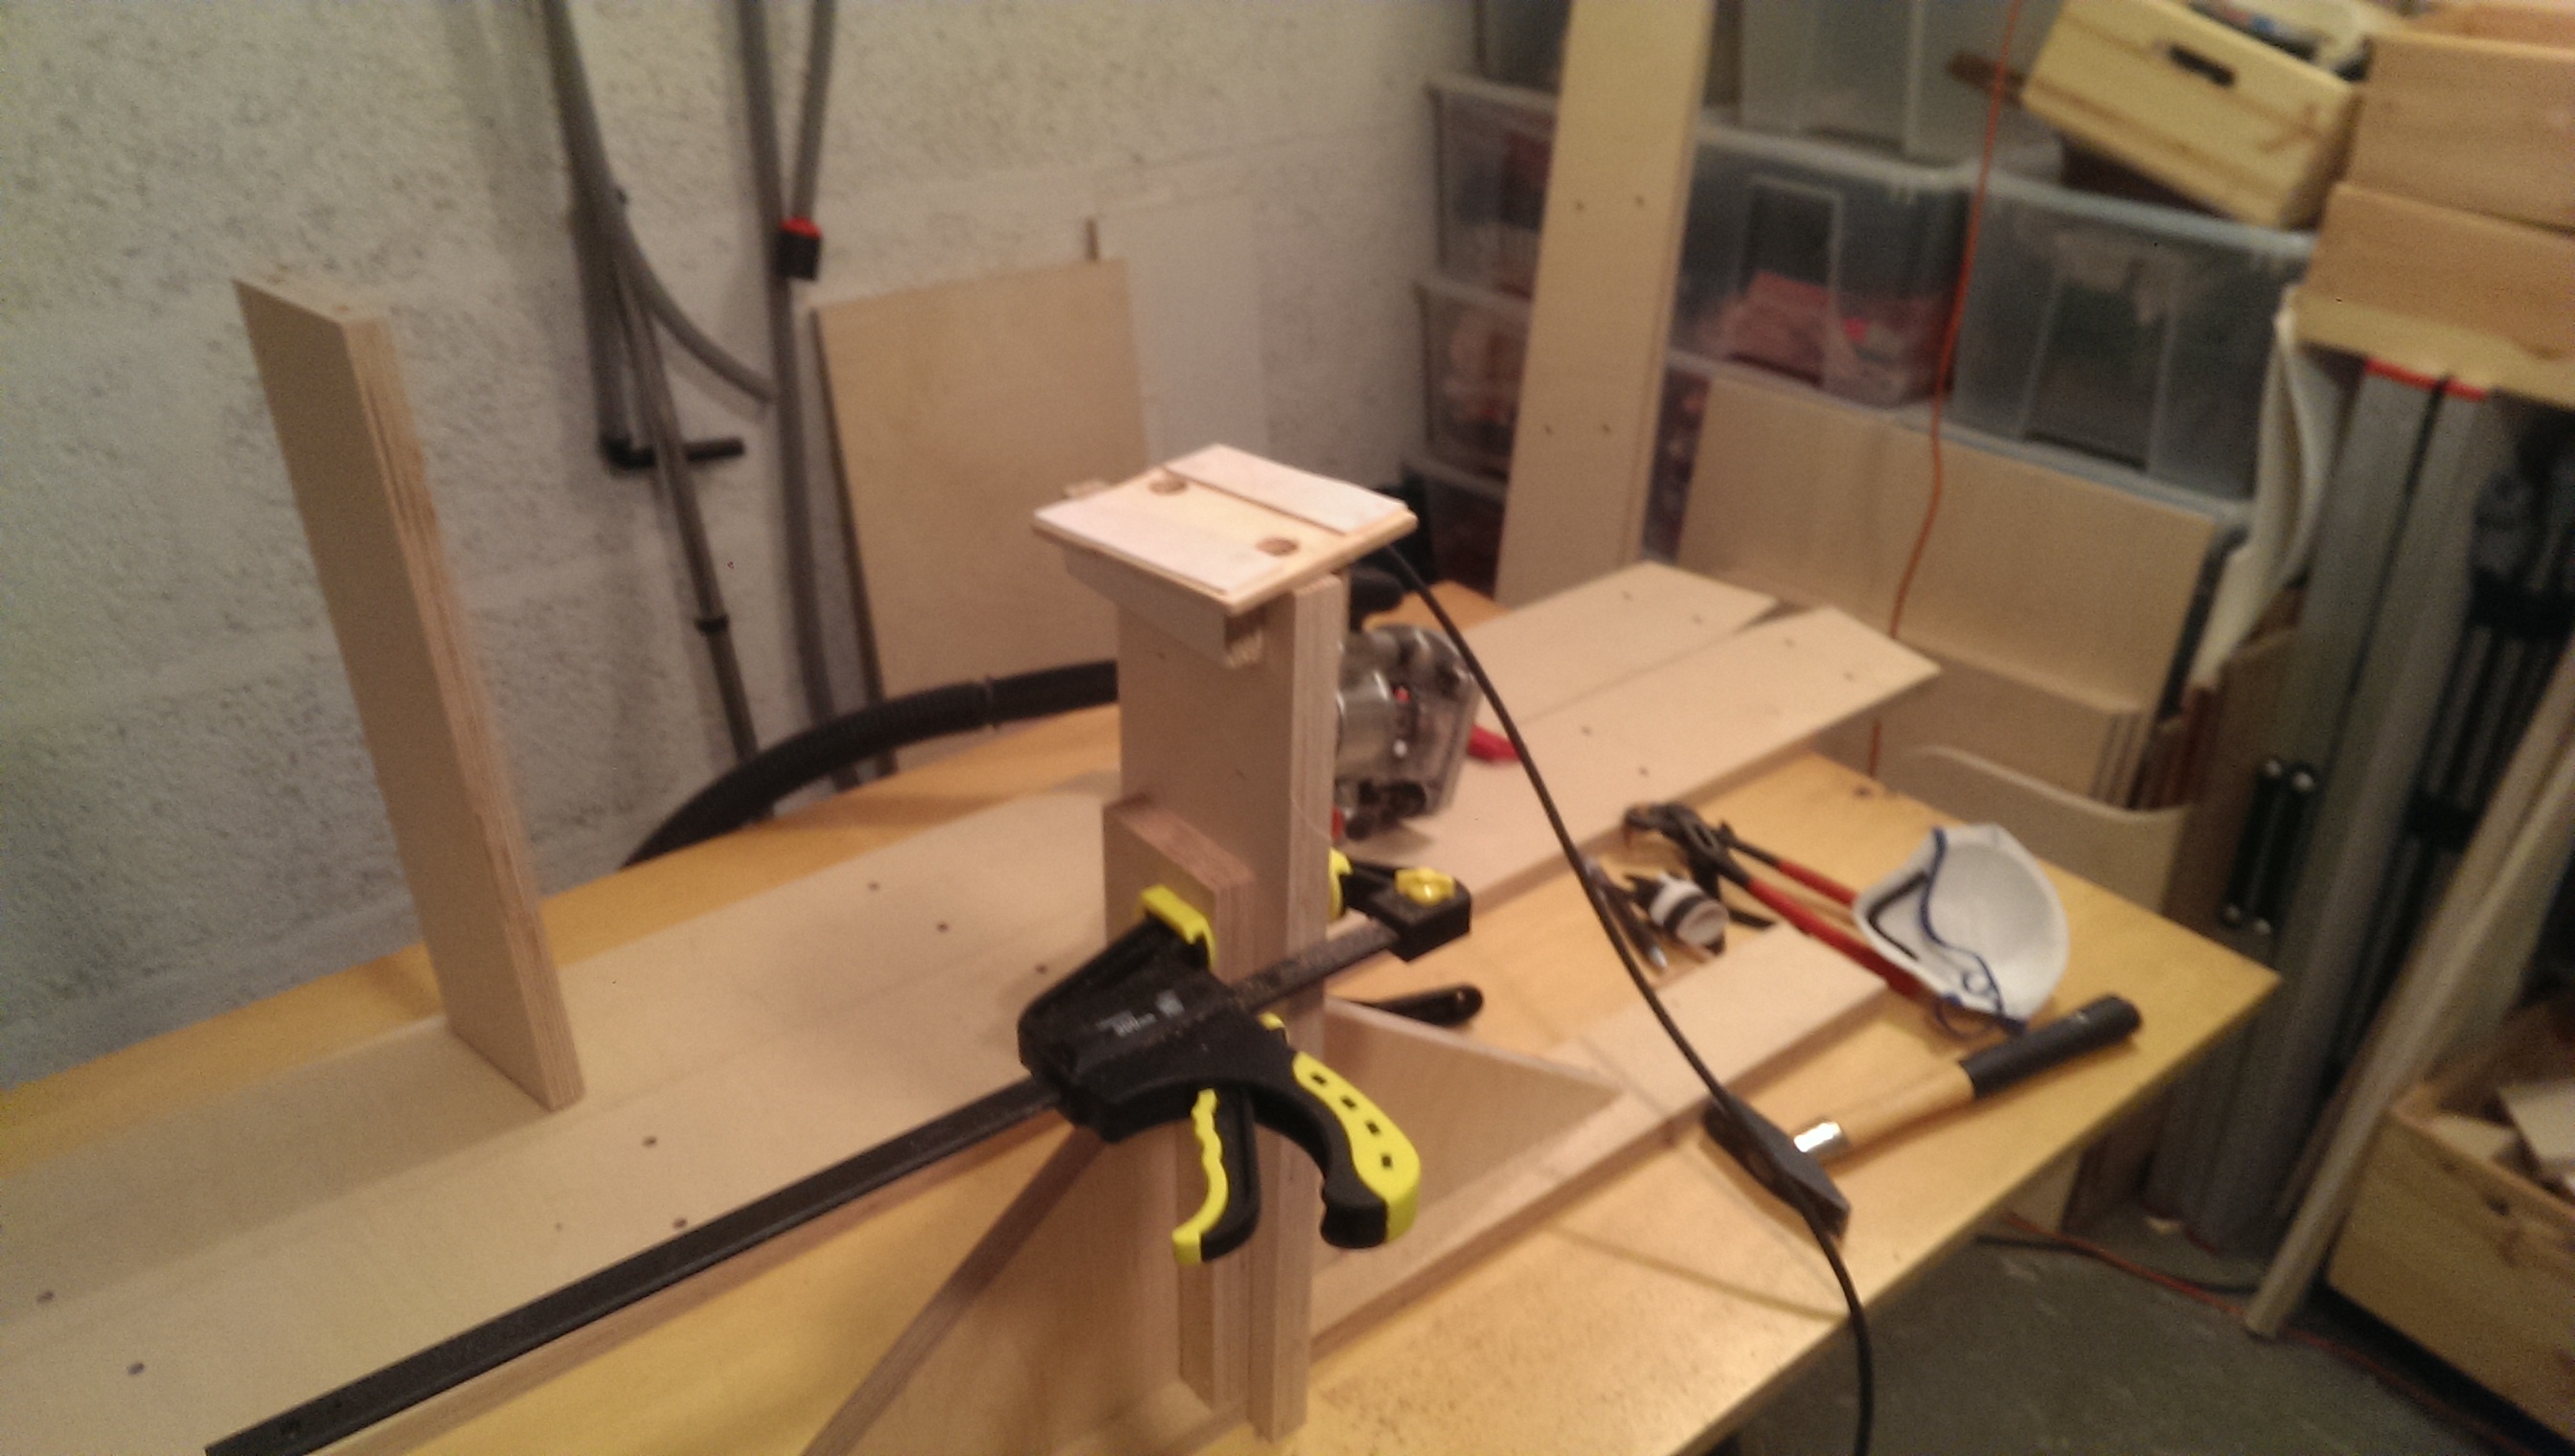
So after the main construction was done I cleaned up the balcony and moved to the basement where I wanted to build the stairs. The panels for the sides were already cut to the correct width so I just had to make a cross cut for the correct length and two 13 degree cuts for the stairs to stand at the planned angle. A 13 degree angle results in pretty steep stairs but I had no other choice as we still wanted to fully open / close the balcony door in the kids room.
For the steps I cut 14 45 x 13 cm pieces from of the remaining material. A track saw is not the right tool for this unless you have a good jig setup. My jig configuration was really dodgy (just a few stop blocks clamped to the worktable) and simply not good enough to achieve decent results. So I had to redo a lot of work which cost me almost half a day for something I could have easily accomplish in 5 minutes on miter or table saw.
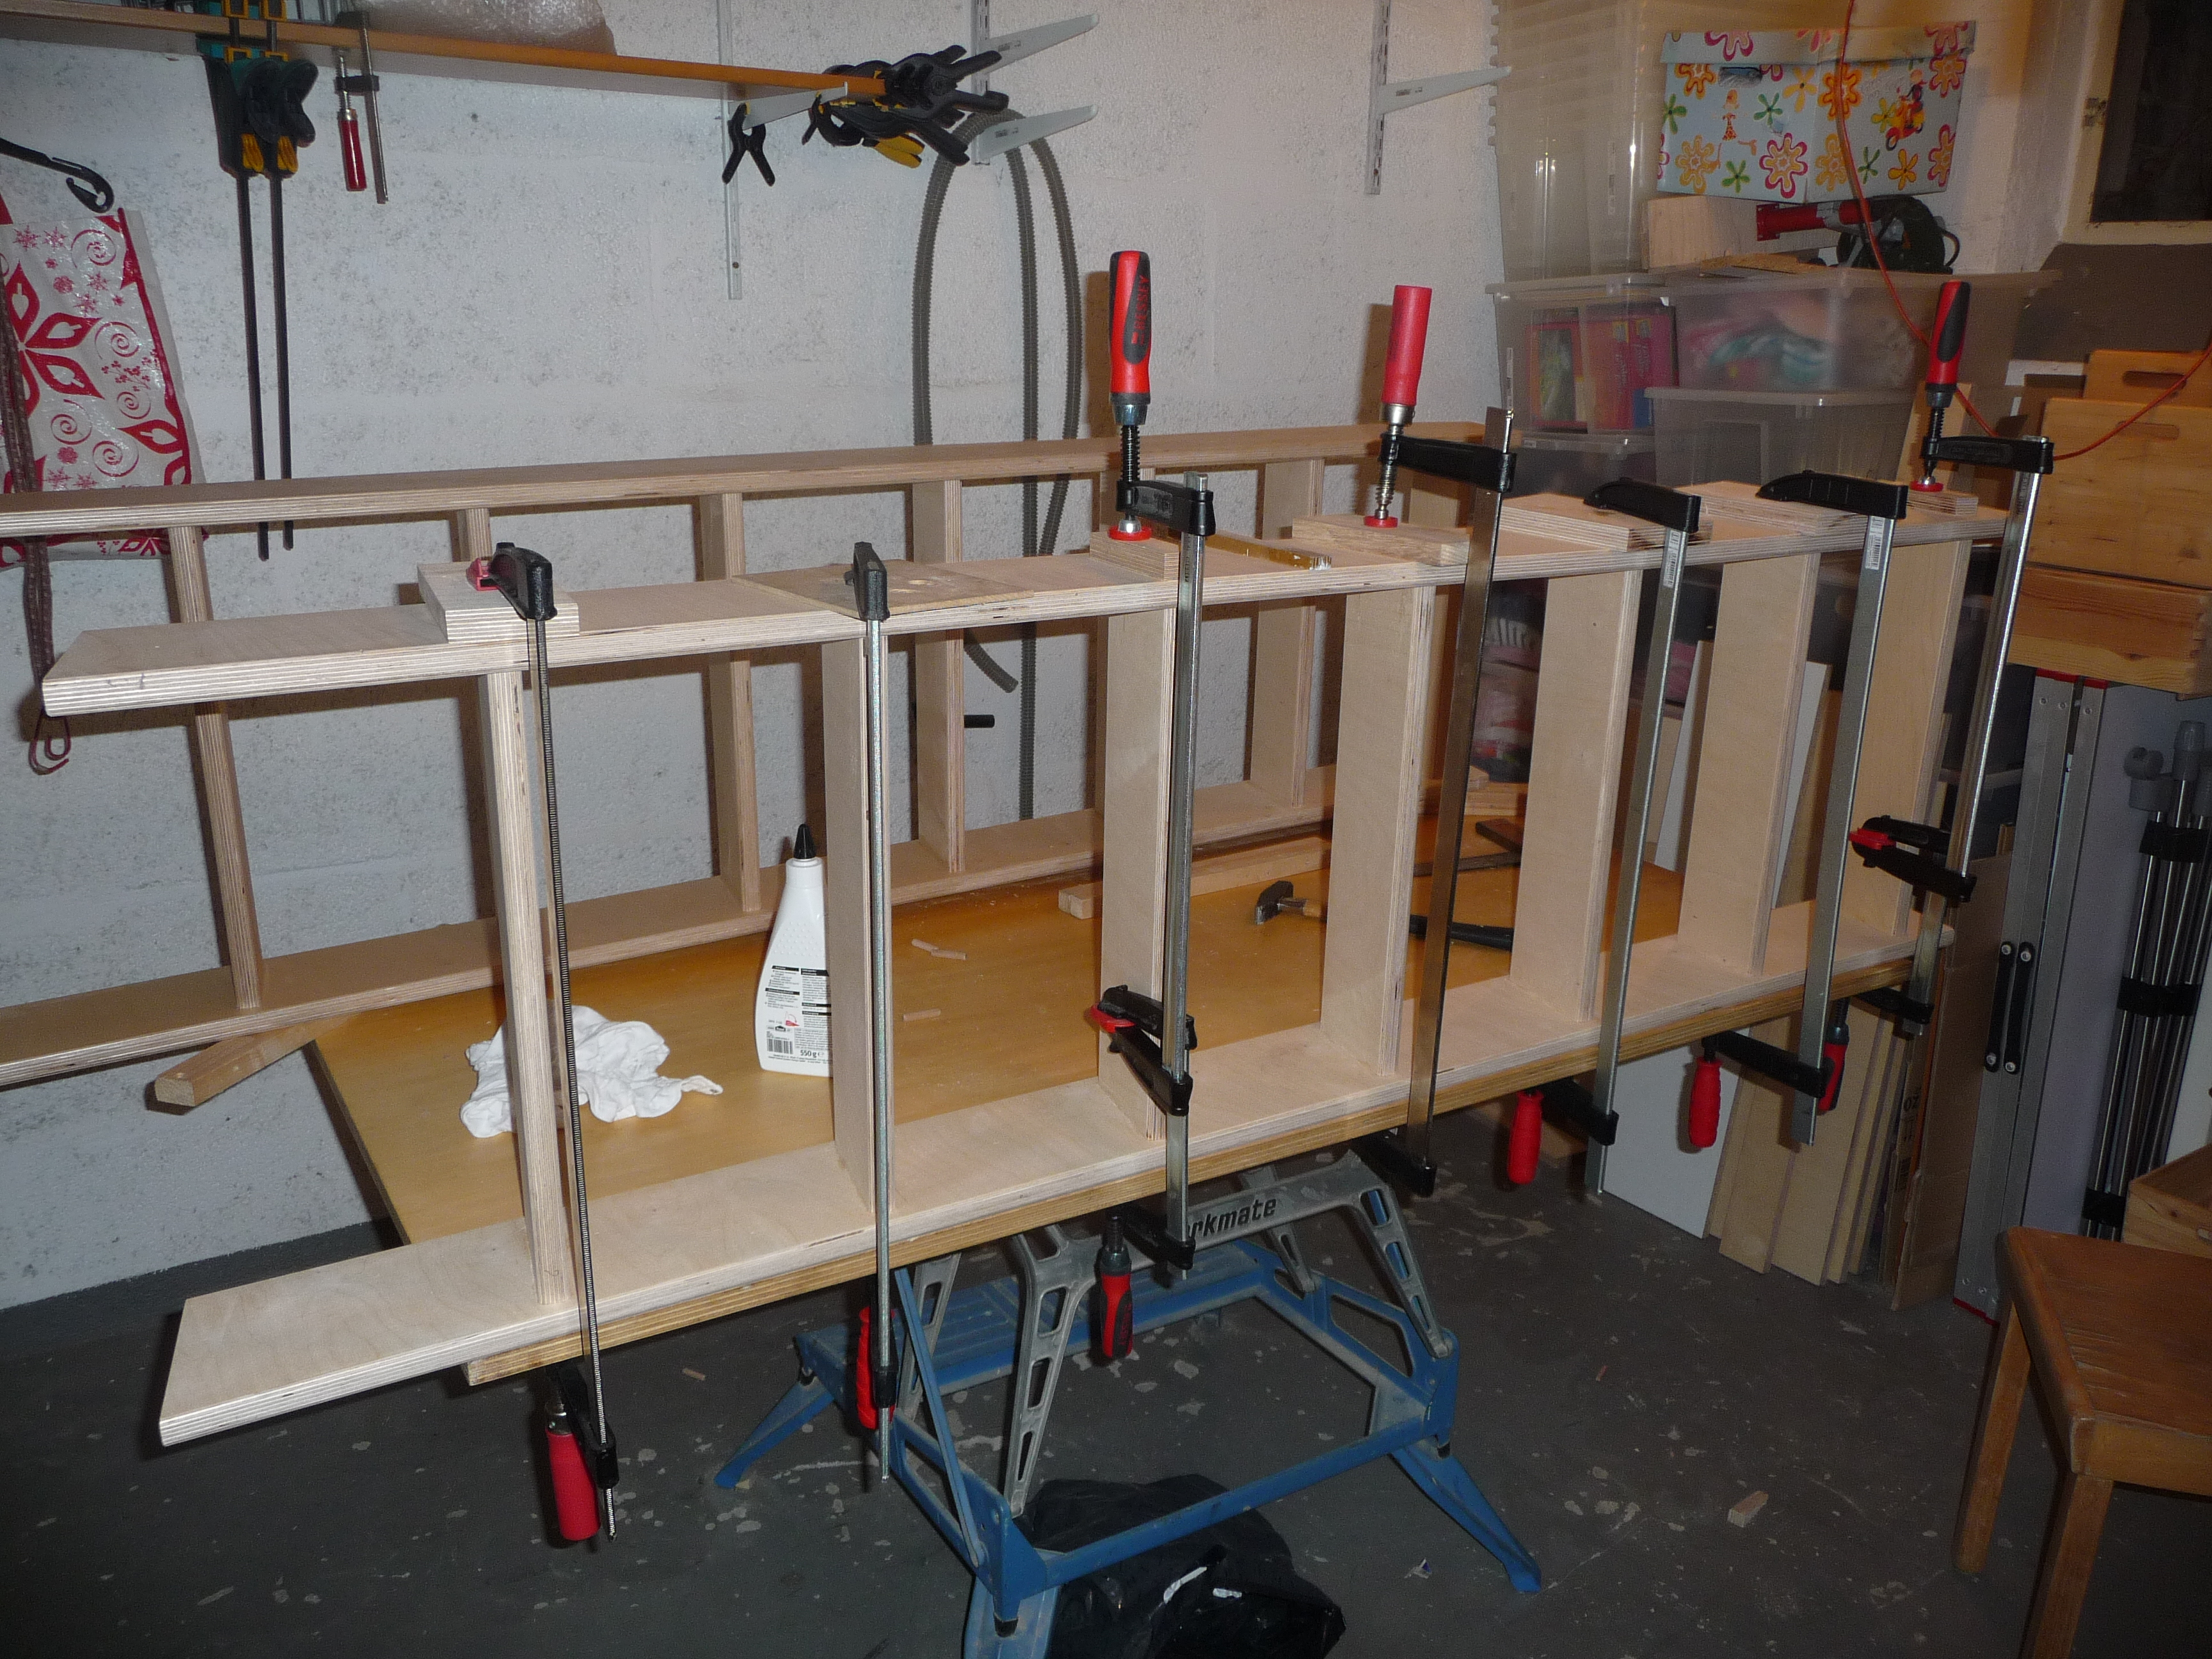
I decided to join the stairs with dowels just because I had the necessary tools available. I knew this wouldn’t be so easy. I built two jigs out of scrap plywood, one for the holes into the side parts and another for the corresponding holes in the stairs. I made them by clamping 3 pieces of plywood together, glued a template on the pieces that I had made with sketchup and then drilled the holes for the copy ring through all three pieces at a time to achieve best accuracy for the actual dowel holes. This worked out pretty well until I realised that I needed a mirror inverted jig for the side counter parts. I used the old jig parts and inverted the templates by turning them around and screwing them in place again. This was a big mistake as I lost accuracy due to the deviation stacking up with each additional row of holes. I had to make some of the holes wider which again took a lot of time but luckily all reworked holes were hidden by the steps.
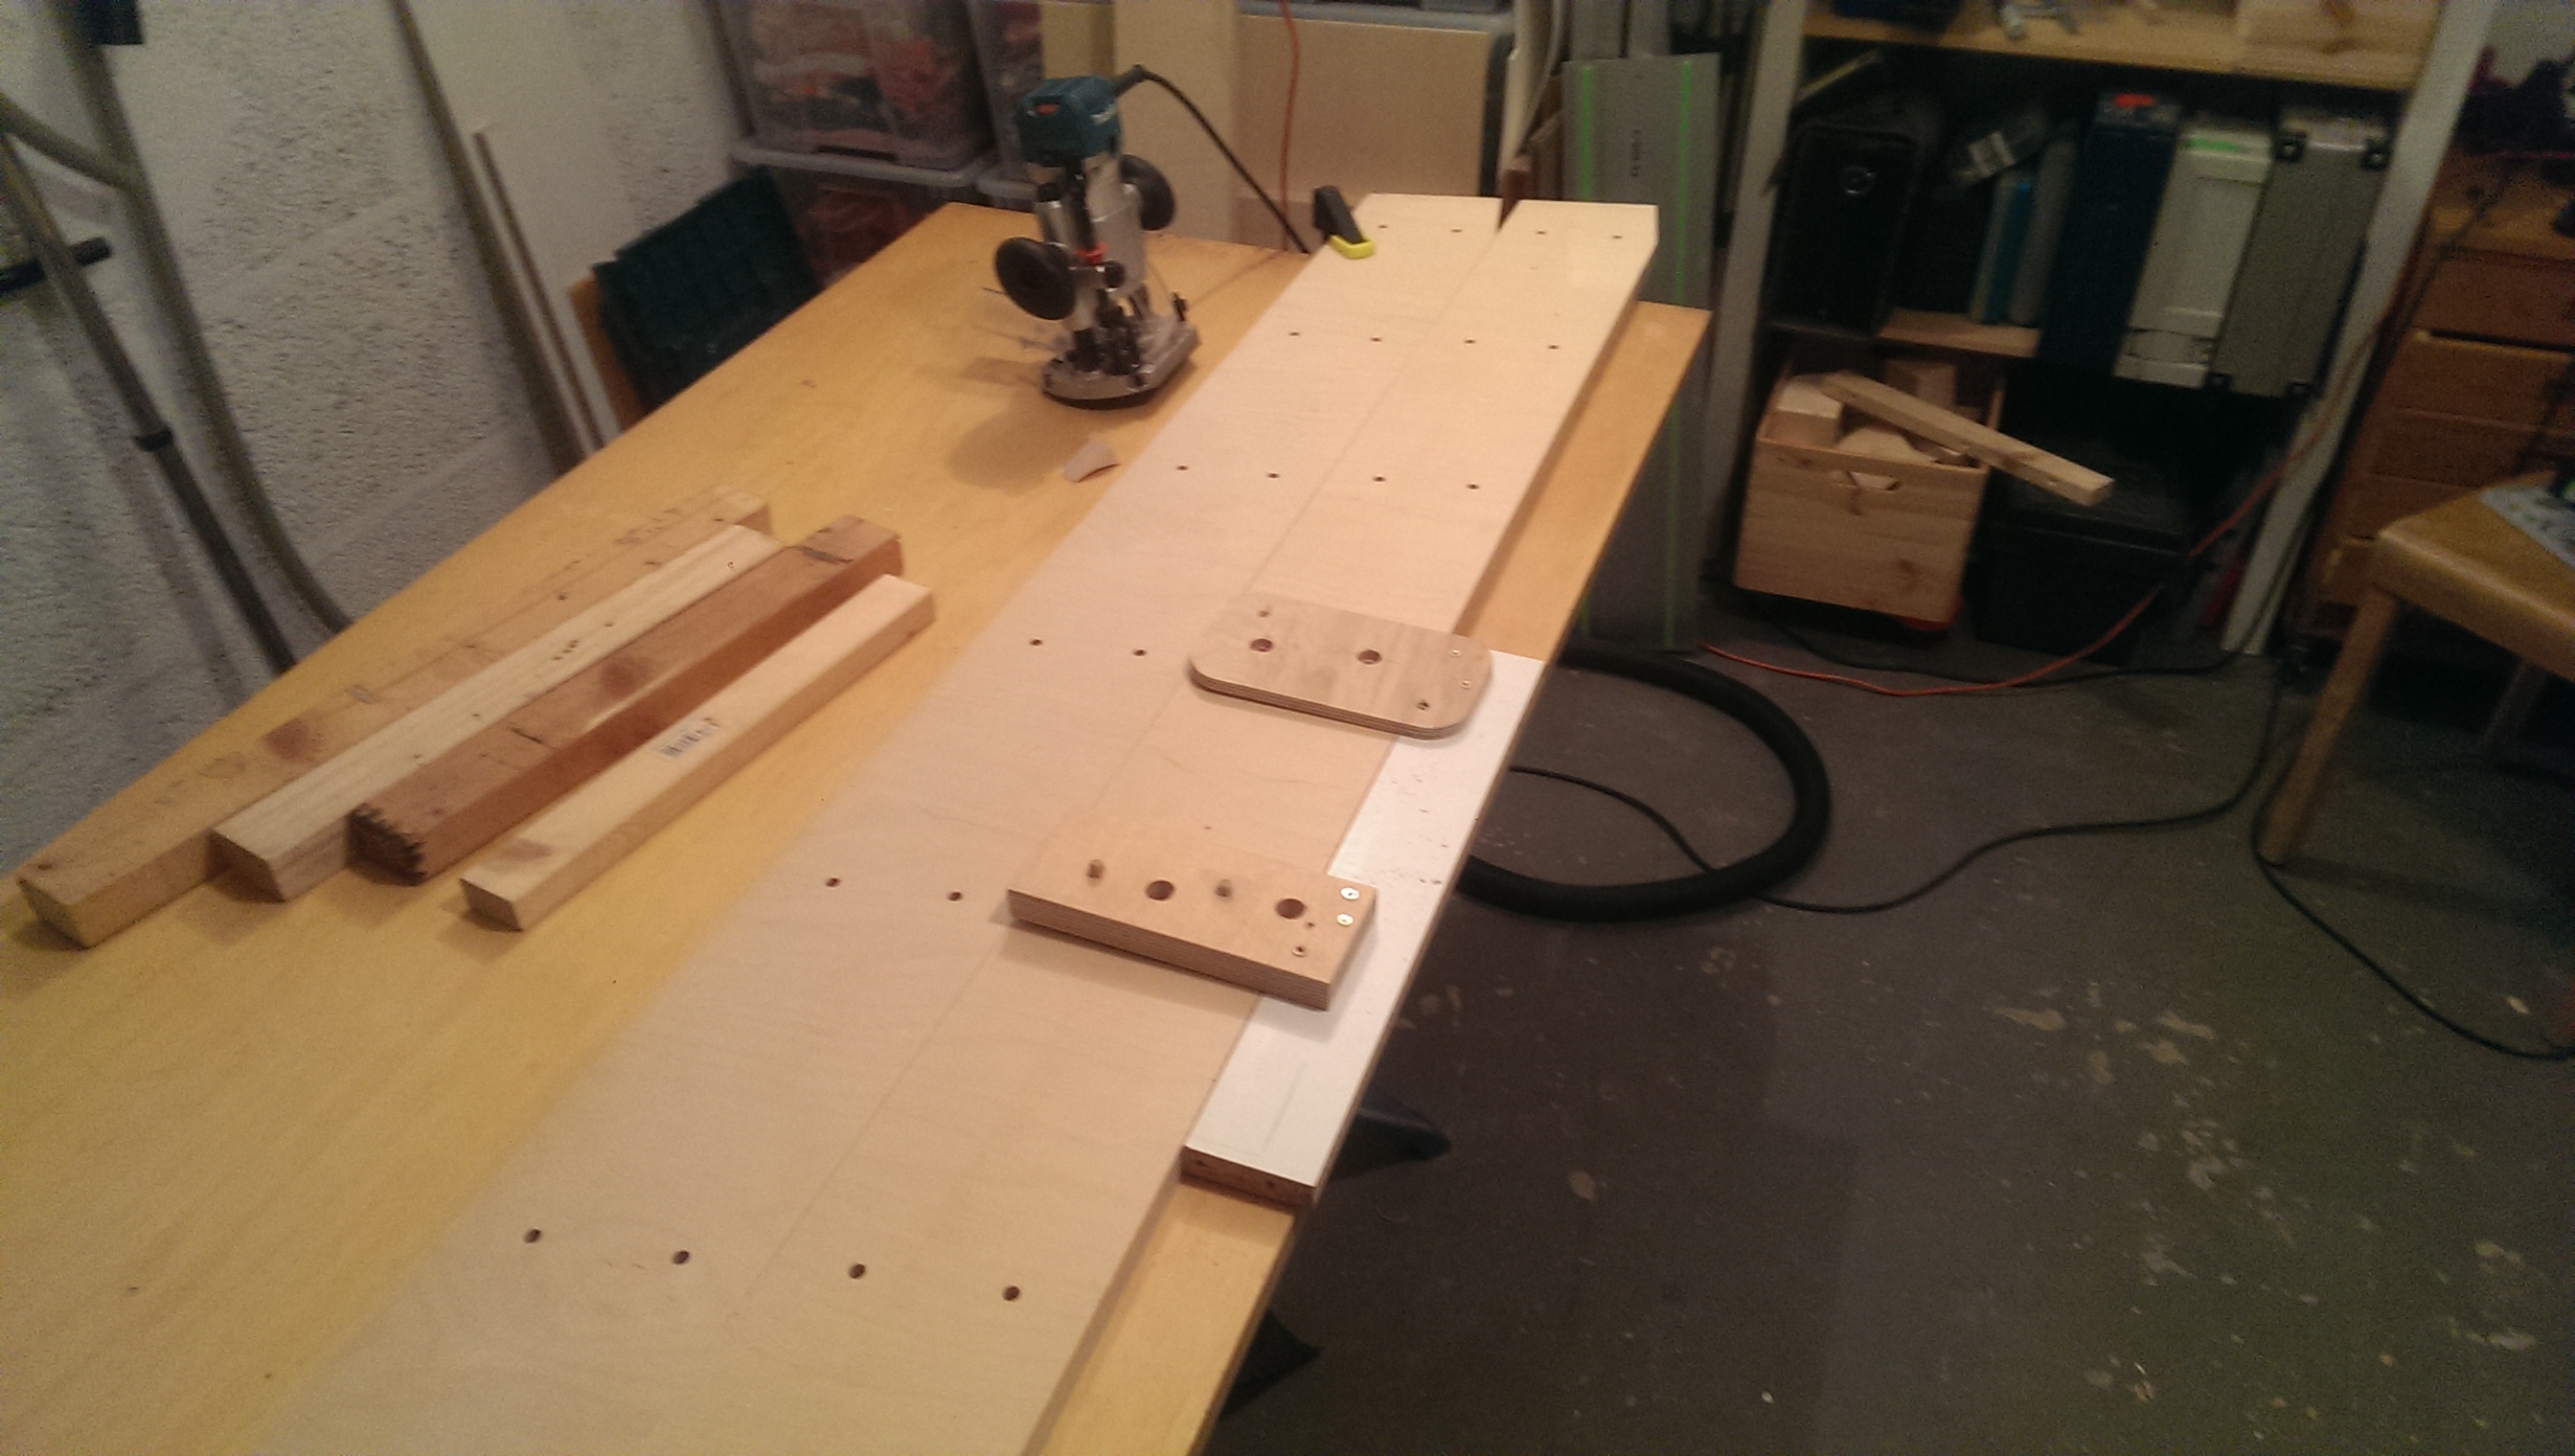


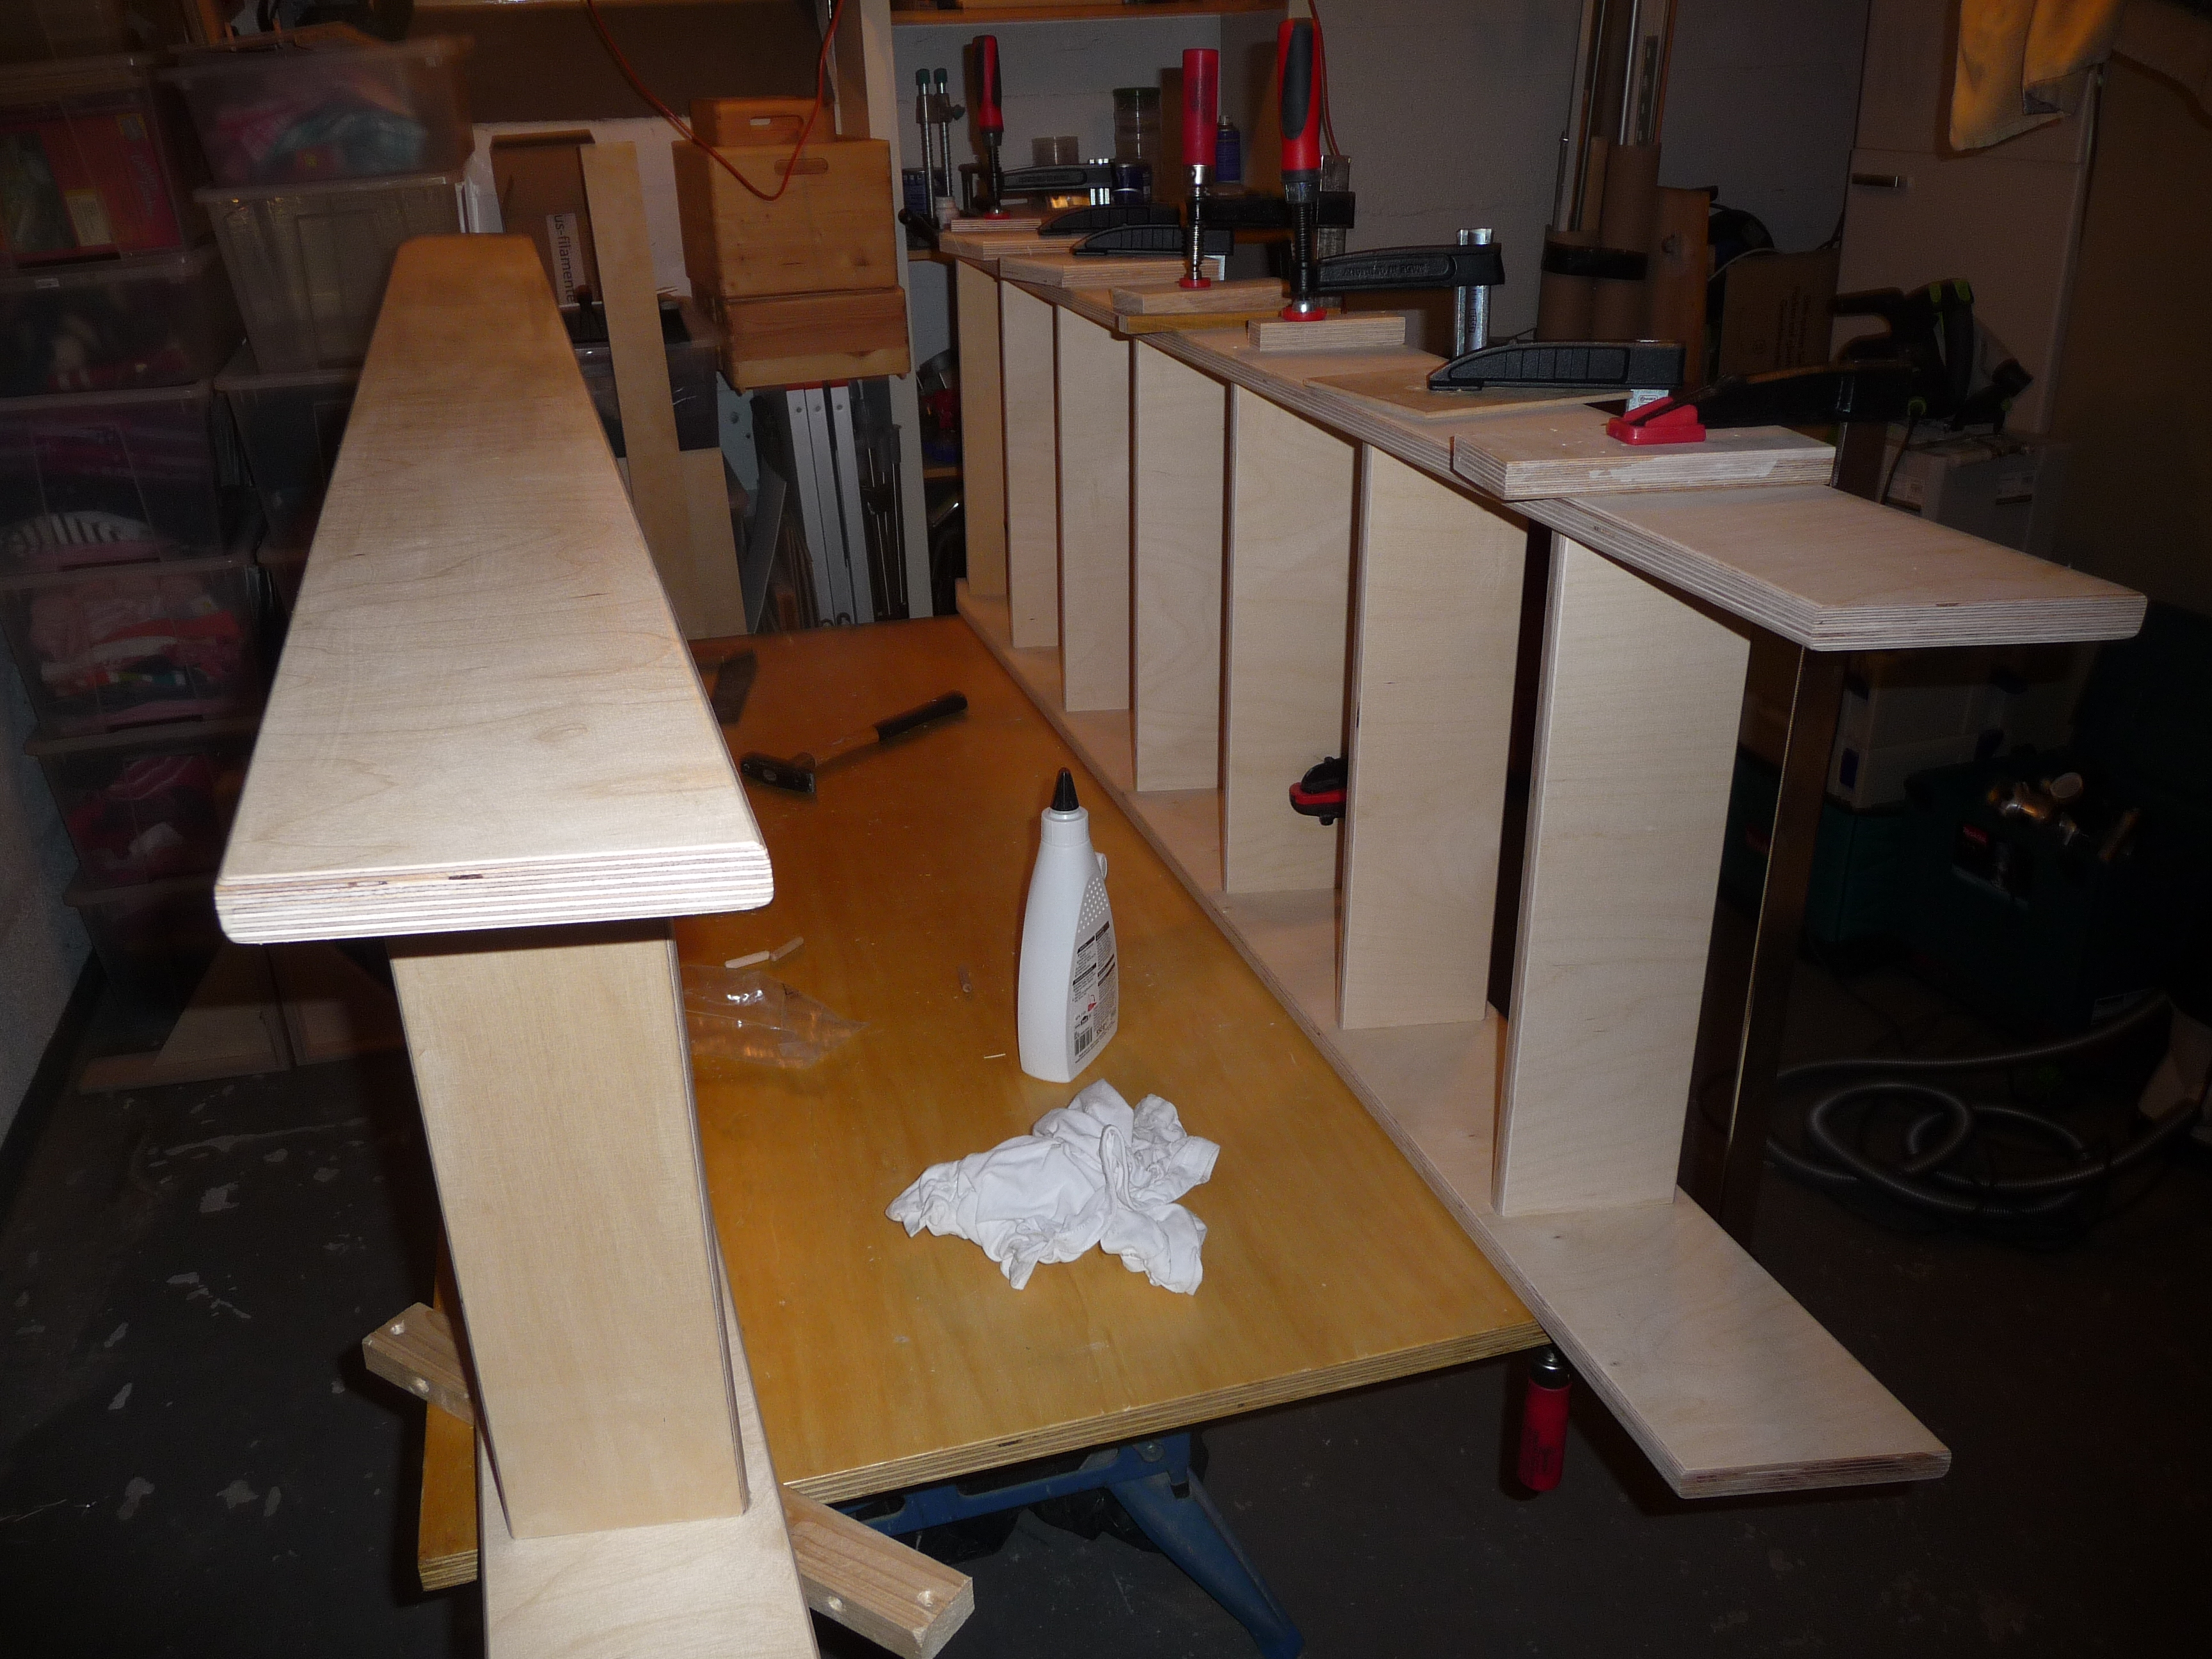
I used a router to round all edges. This worked surprisingly fast . I just clamped two blocks on the worktable which held all pieces in place. So I could hold the router in one hand and keep it spinning while turning the parts around with the other hand.
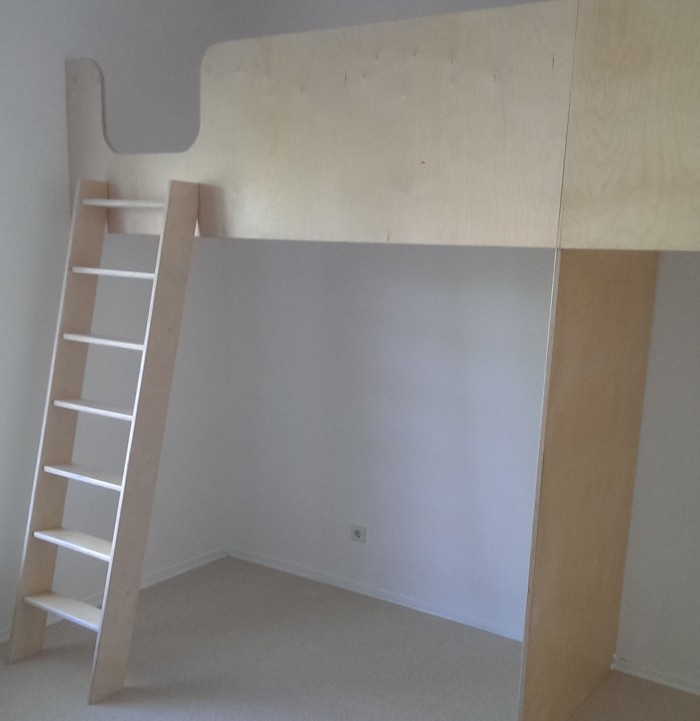
After all parts & pieces were treated with the router I sanded them by hand and then finally glued everything together. The glue up turned out to be straight forward. Even the misplaced holes didn’t cause any major problems. I applied two coats of varnish and carried the finished stairs into the kids room where I attached them with 4 6x100mm screws to the bed’s side panel.
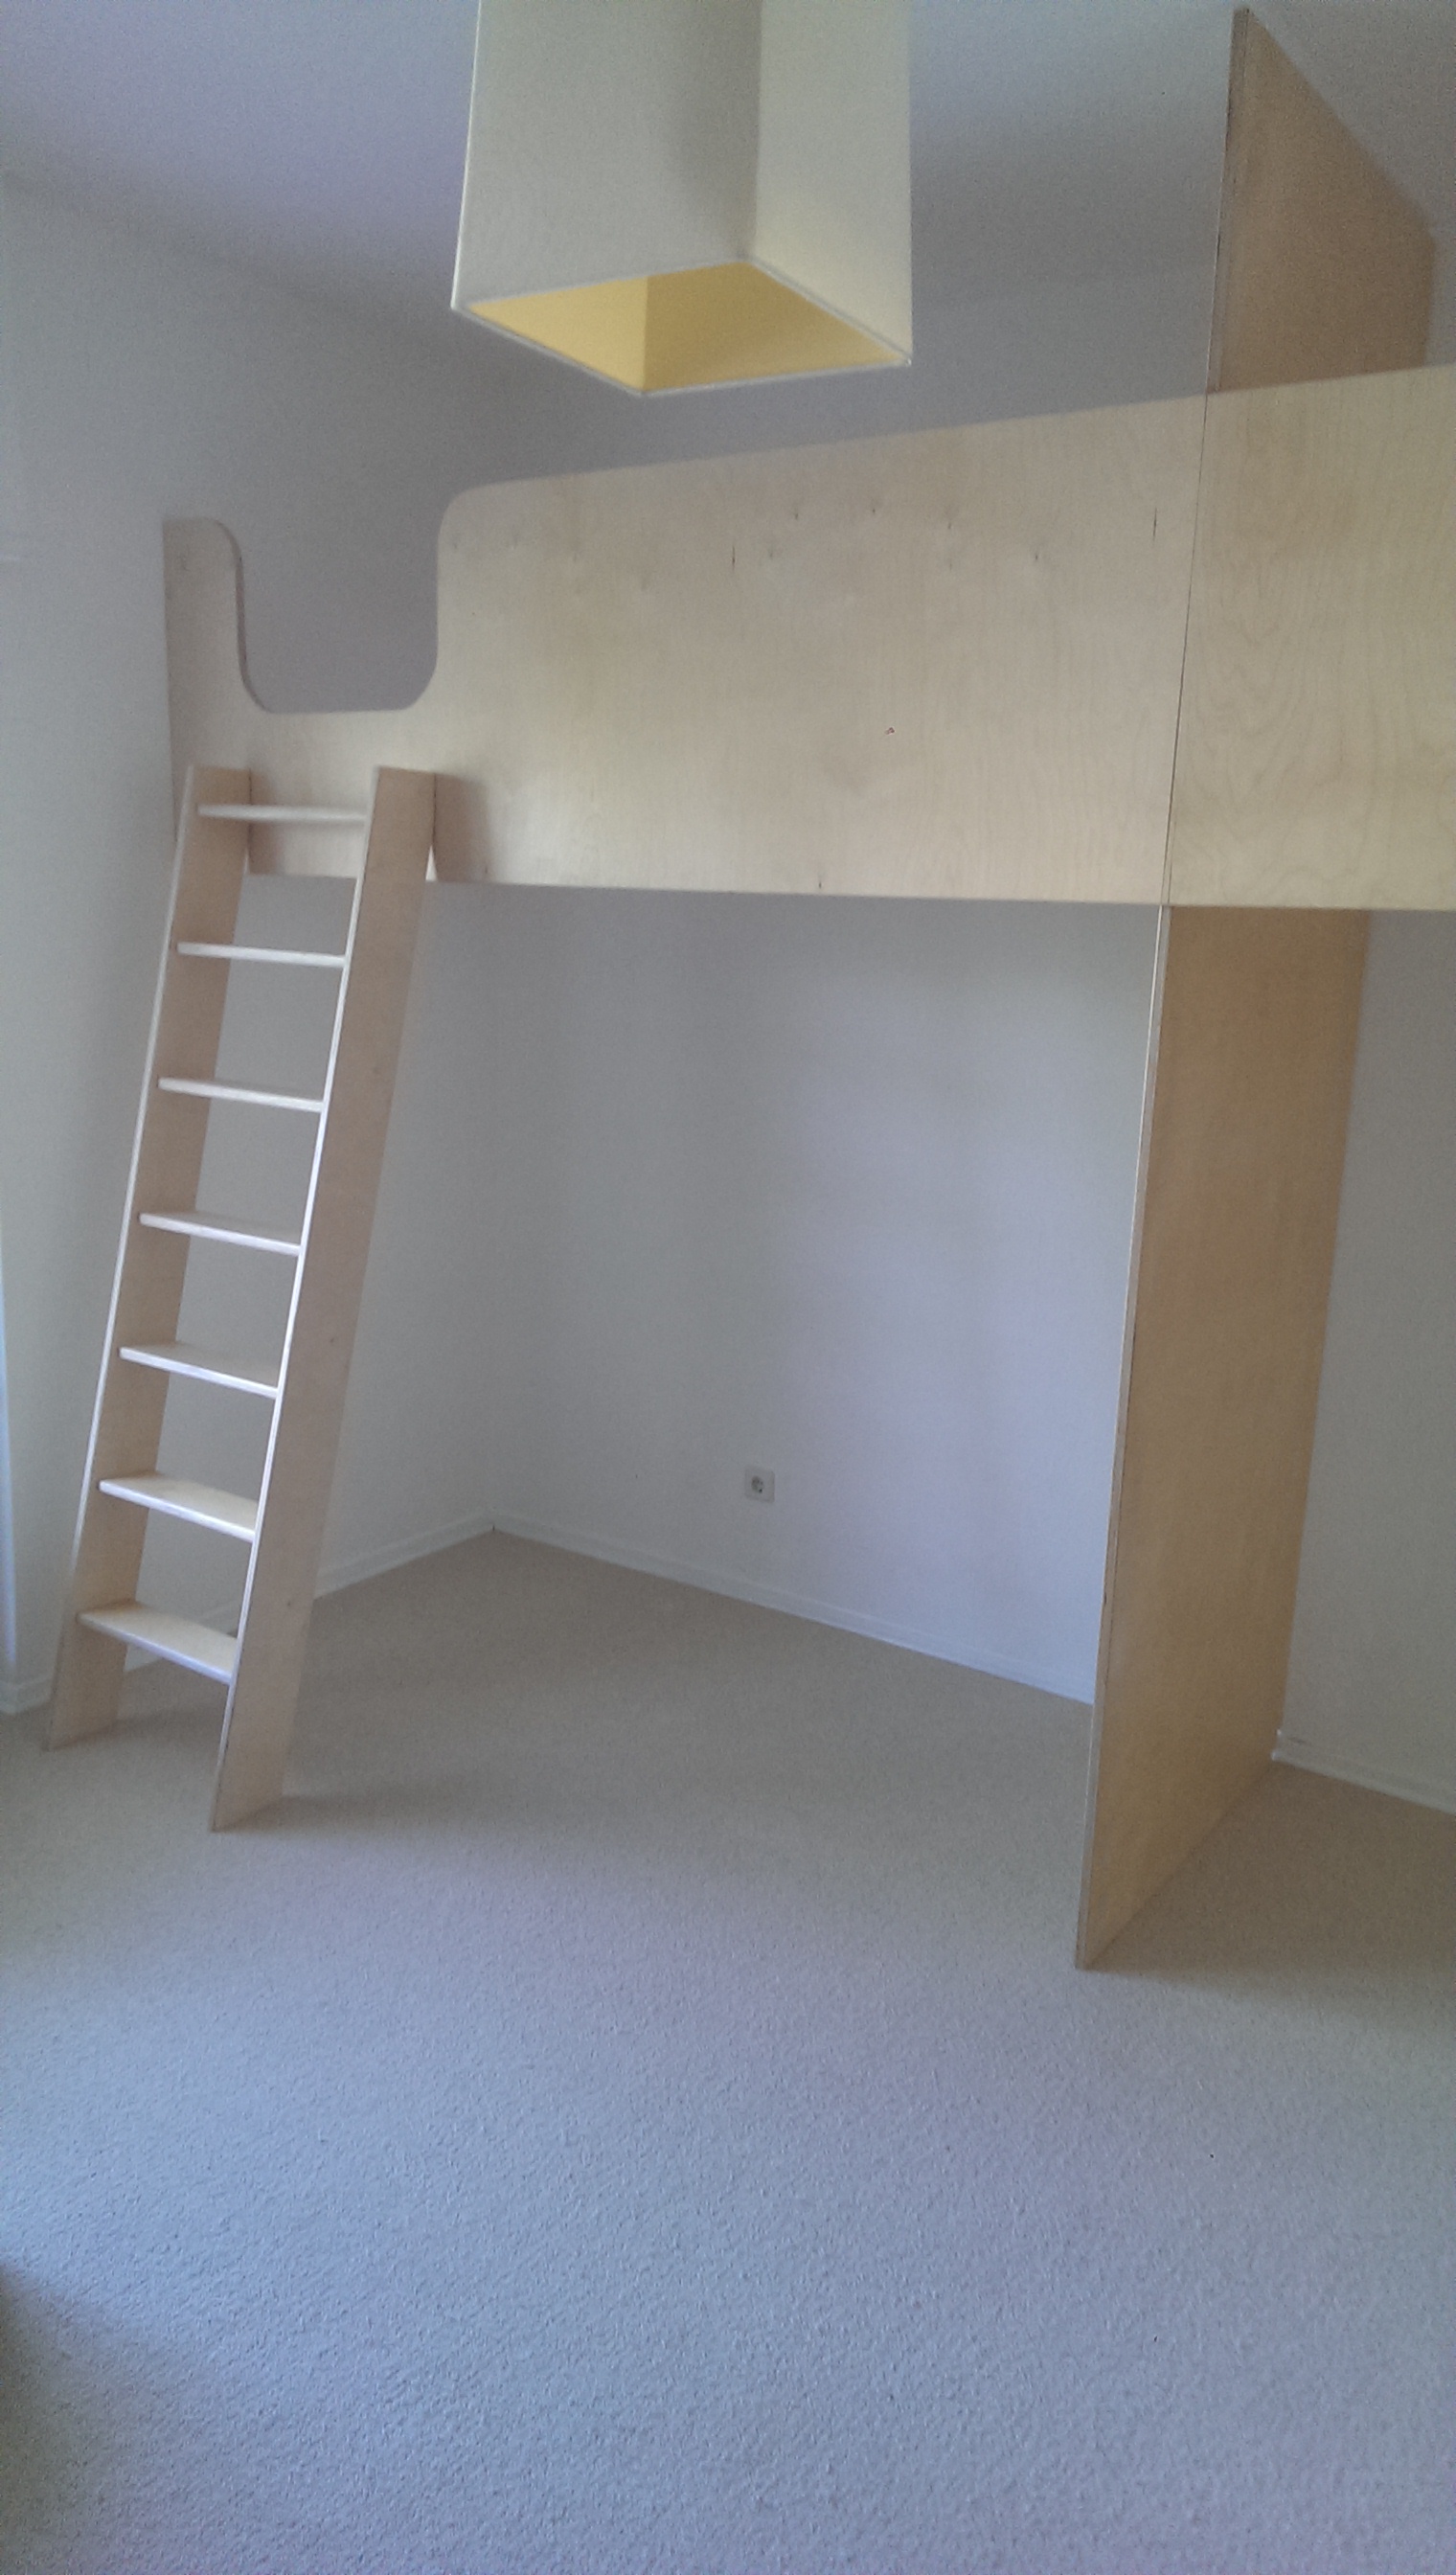
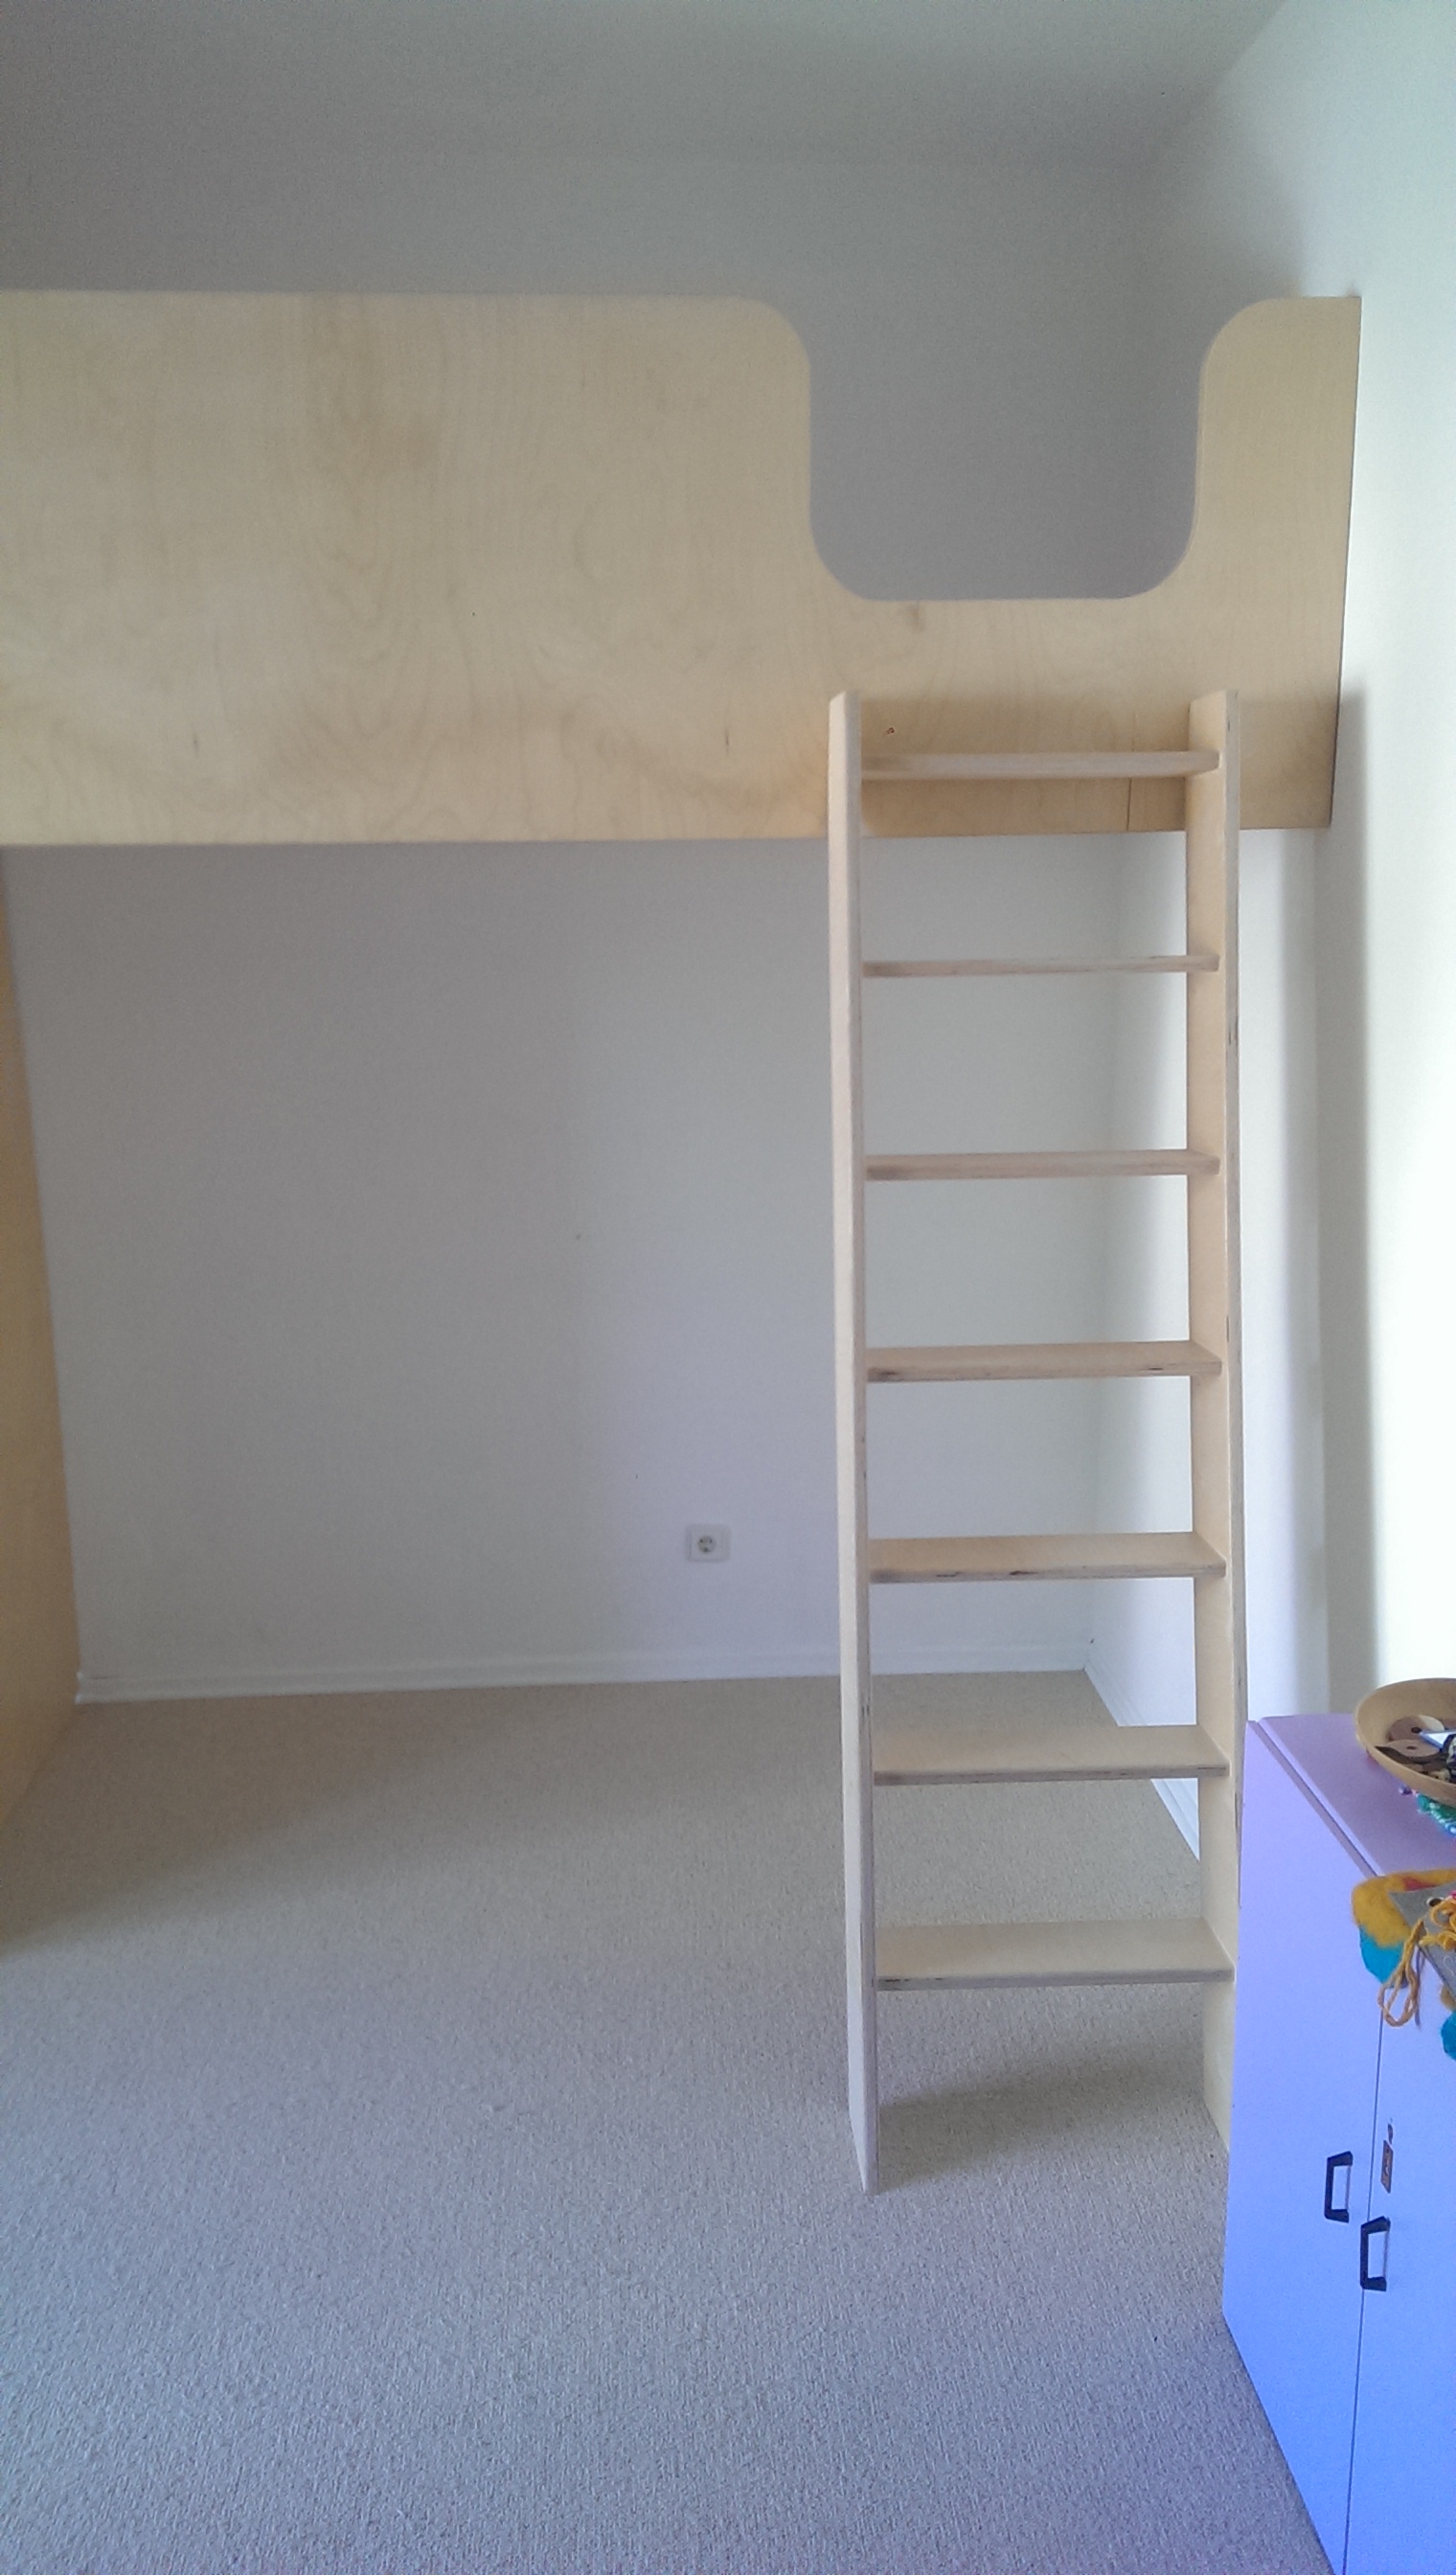
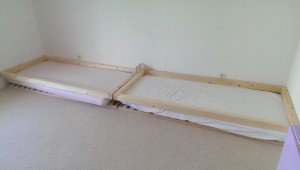
I realised that the side panels and the divider had a bit too much play so I screwed them against the walls with a 15x15m hardwood cleat which made the bed super sturdy. Now I just had to lift up the lath floor and the mattresses and the bed was ready to use.
Final thoughts
Overall I’m quite happy how this project came out and the girls really like their new beds and enjoy the extra space beneath. However, for future wood projects I need to plan in more time for certain steps. I initially planned 3 days for the complete built but it took me almost 7. Especially varnishing and sanding everything twice took a lot of time and the screw up with the stairs doweling jig cost me a full working day.